
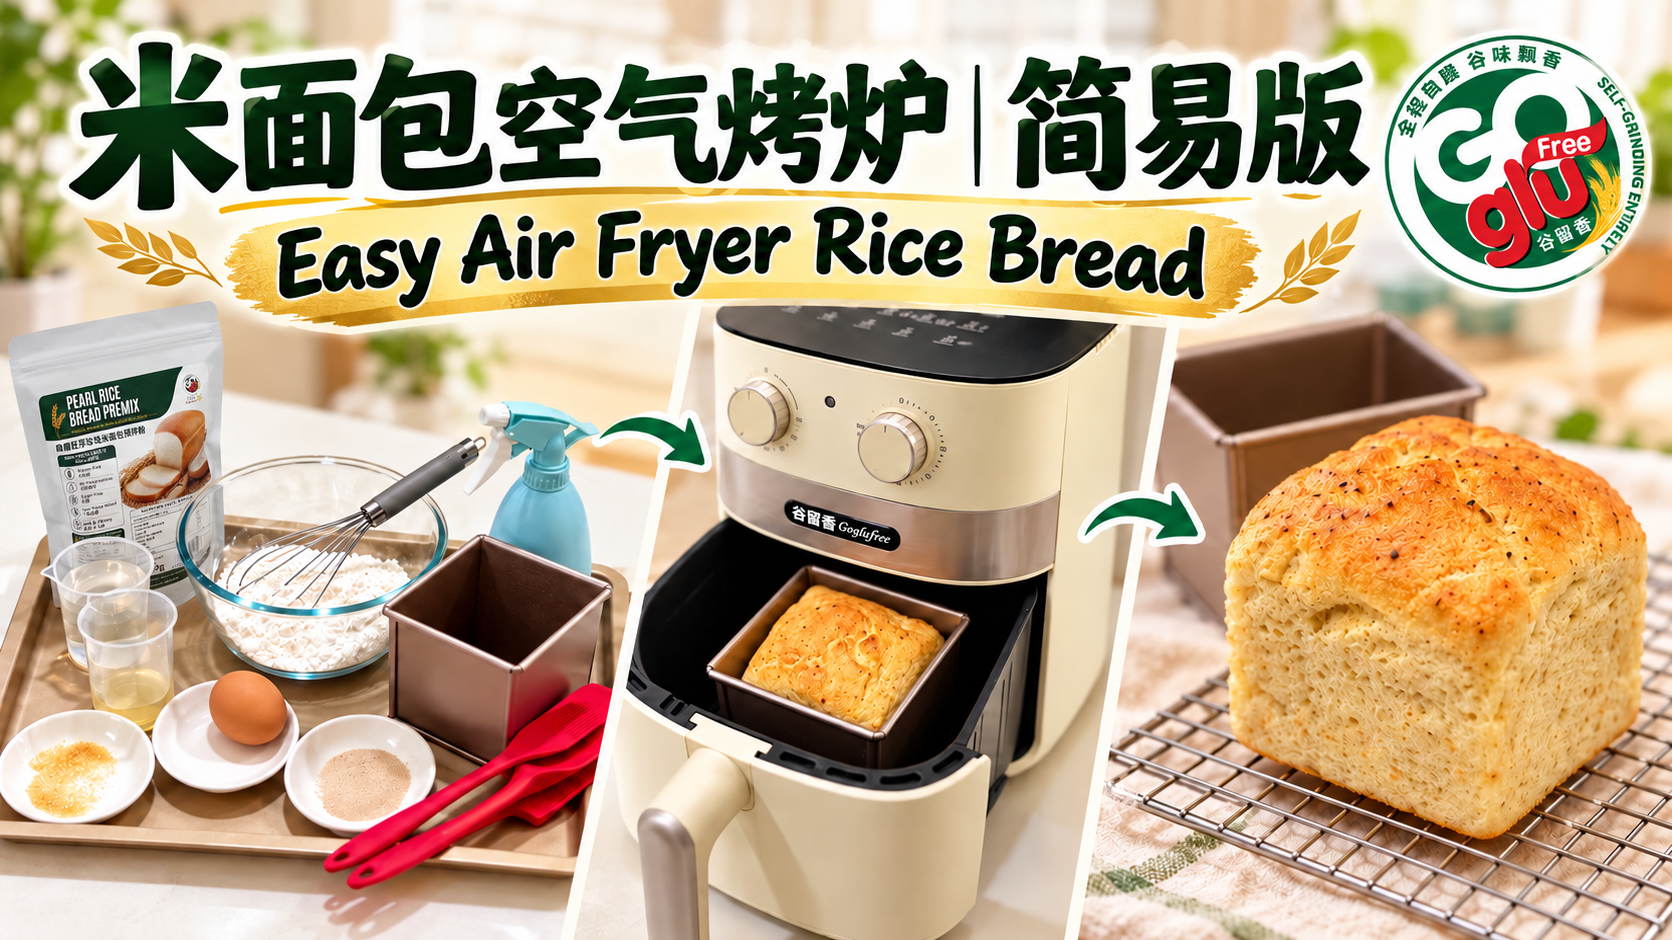
Want to make rice bread at home but don't have a stand mixer or a large oven?
You can actually get started with just a handheld whisk, a suitable baking mould, and an Air Fryer!
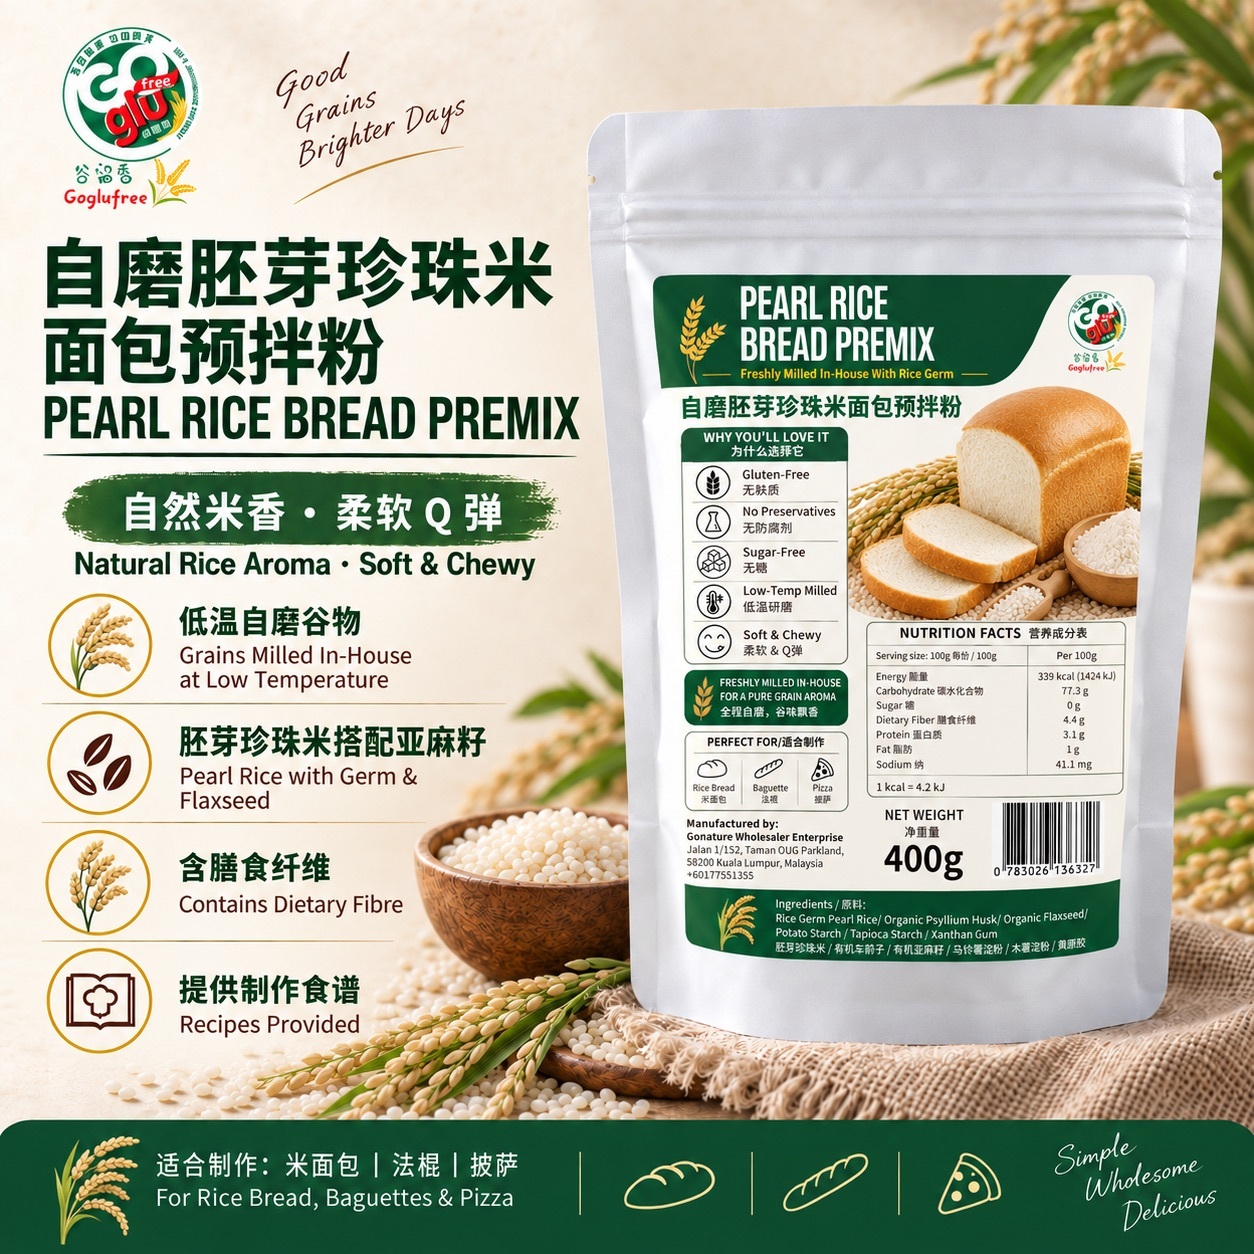
In this demonstration, Goglufree Founder Huang Ba Ba uses our Pearl Rice Bread Premix with Rice Germ to show how simple homemade rice bread can be.
First, prepare the ingredients according to the corresponding recipe. Combine the premix with the other ingredients and mix until the batter is smooth, with no visible dry flour.
Next, pour the batter into a suitable baking mould and smooth the surface with a spatula. Allow the batter to ferment and rise before baking it in the Air Fryer.
🔥 Tips for Air Fryer Baking
✔️ Choose the Right Baking Mould
Make sure the mould fits inside the Air Fryer basket, leaving enough space around it for proper hot air circulation.
✔️ Adjust According to Your Air Fryer
Different Air Fryer models may have different heating performance. When baking for the first time, monitor the browning and check that the bread is fully cooked inside.
✔️ Follow the Recommended Recipe
Use the corresponding Goglufree premix recipe as your guide, adjusting the baking time as needed for your Air Fryer.
🌾 Simple Tools, Homemade Rice Bread!
You don't need to wait until you have professional baking equipment to get started.
With Goglufree Rice Bread Premix, a simple recipe, and the tools you already have at home, you can enjoy the experience of making your own gluten-free rice bread.
Freshly Milled In-House | Easy to Make | Recipes Included
🌾 Goglufree — Healthy Rice Bread Starts with a Grain of Rice.
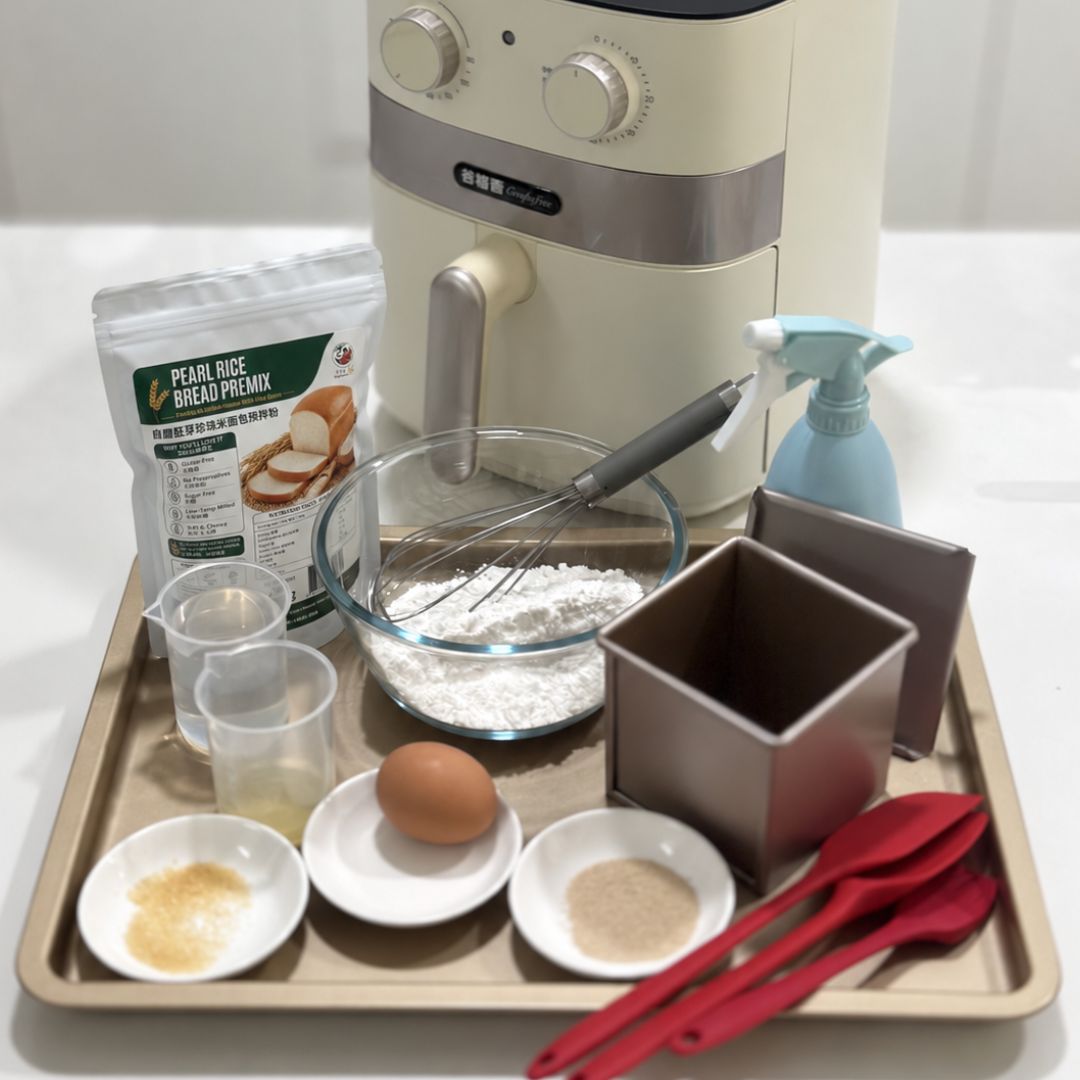
🍞 Ingredients | Easy Air Fryer Rice Bread
Baking Mould Size: 250g
- Pearl Rice Bread Premix with Rice Germ – 200g
- Instant Yeast – 3g
- Sugar (Cane Sugar / Molasses) – 3g
- Oil (Olive Oil / Coconut Oil) – 10g
- Water – 150g
- Egg – 1
🥣 Step-by-Step Instructions
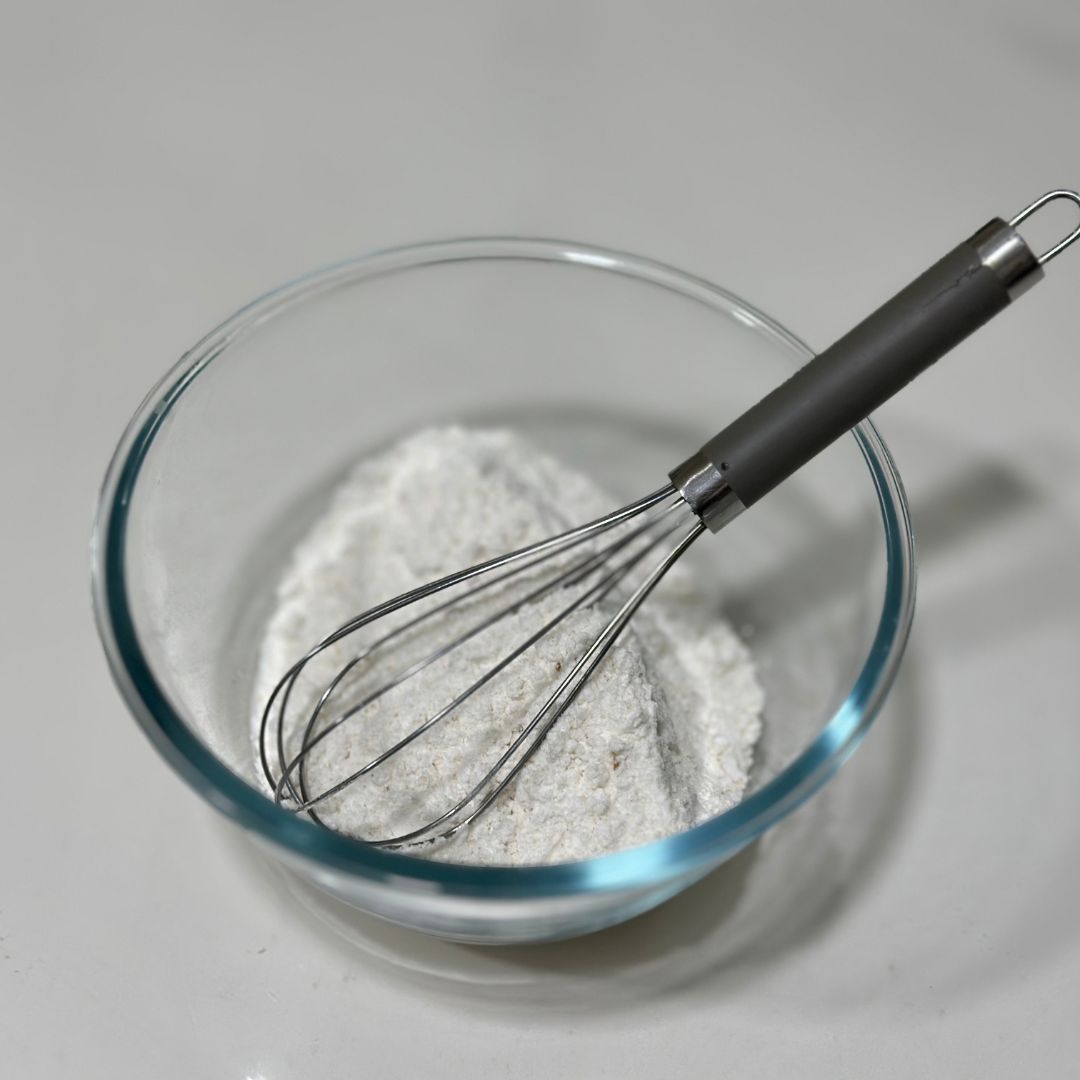
Step 1: Pour the Goglufree Pearl Rice Bread Premix into a mixing bowl.
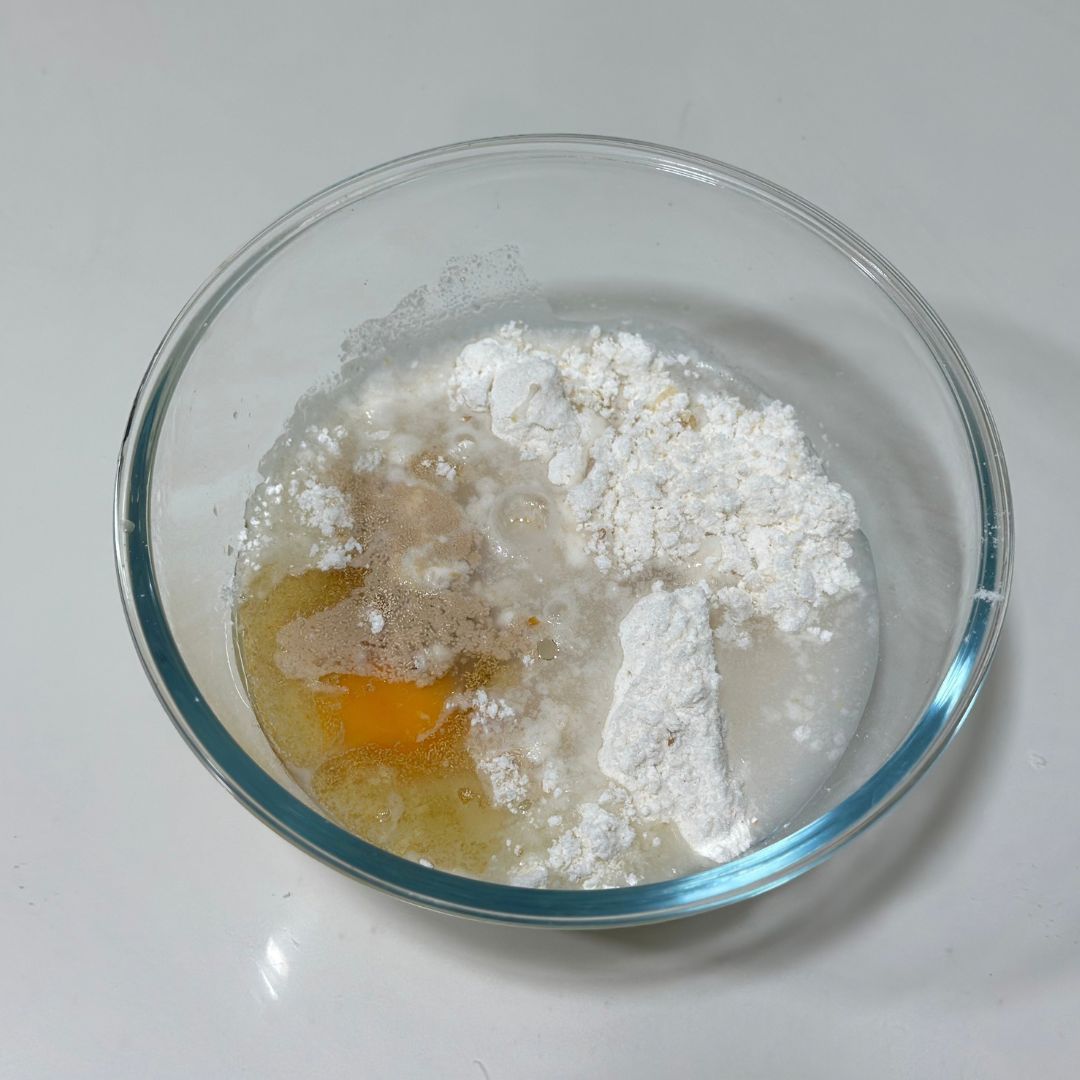
Step 2: Add all the remaining ingredients into the mixing bowl. You can add them in any order.
Step 3: Using a hand whisk, mix the premix and other ingredients for approximately 1–2 minutes, until the batter is smooth and evenly combined, with no visible dry flour.
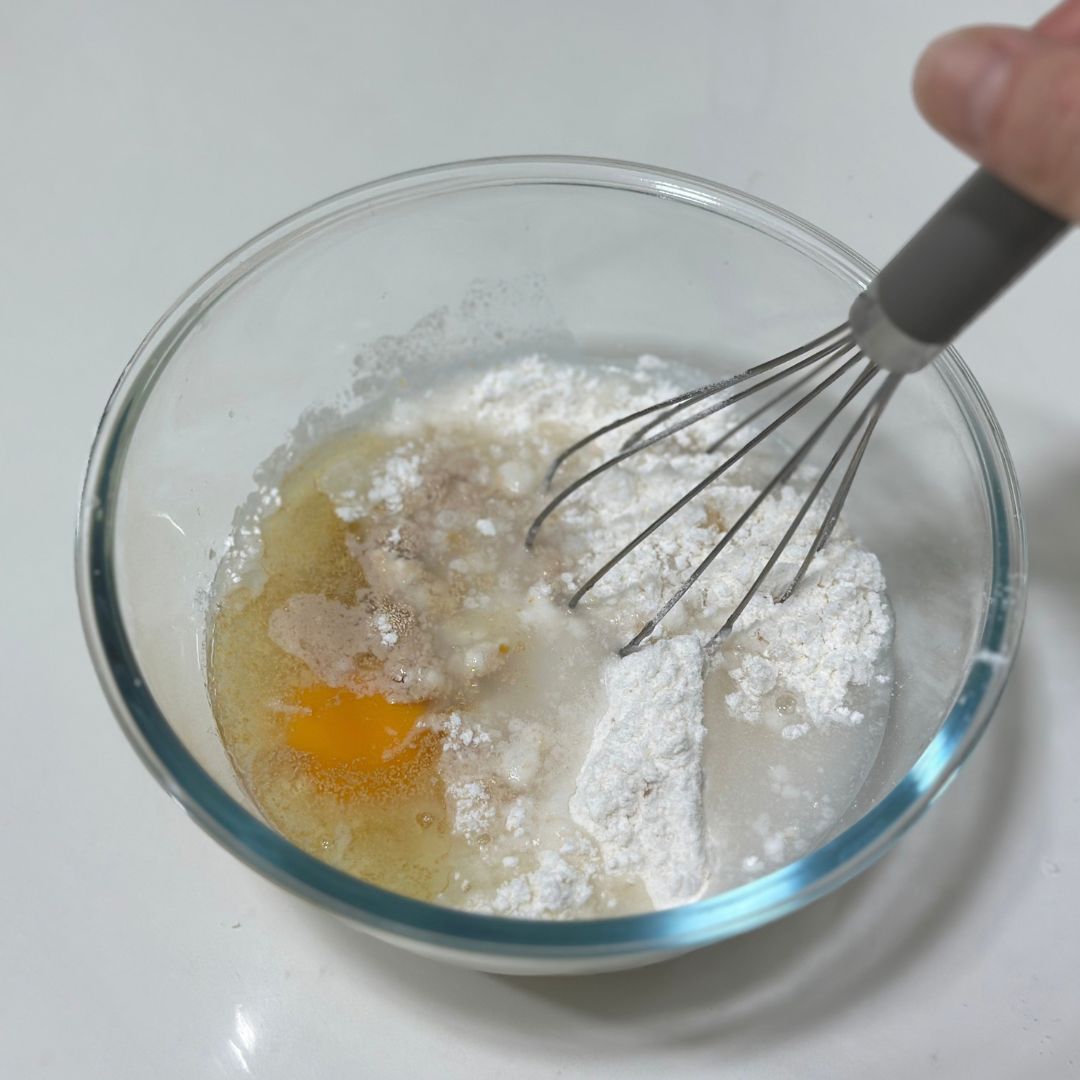
Step 4: Using a flat spatula, gently mix the rice batter again until evenly combined. Scrape down the sides of the bowl to ensure all ingredients are fully incorporated.
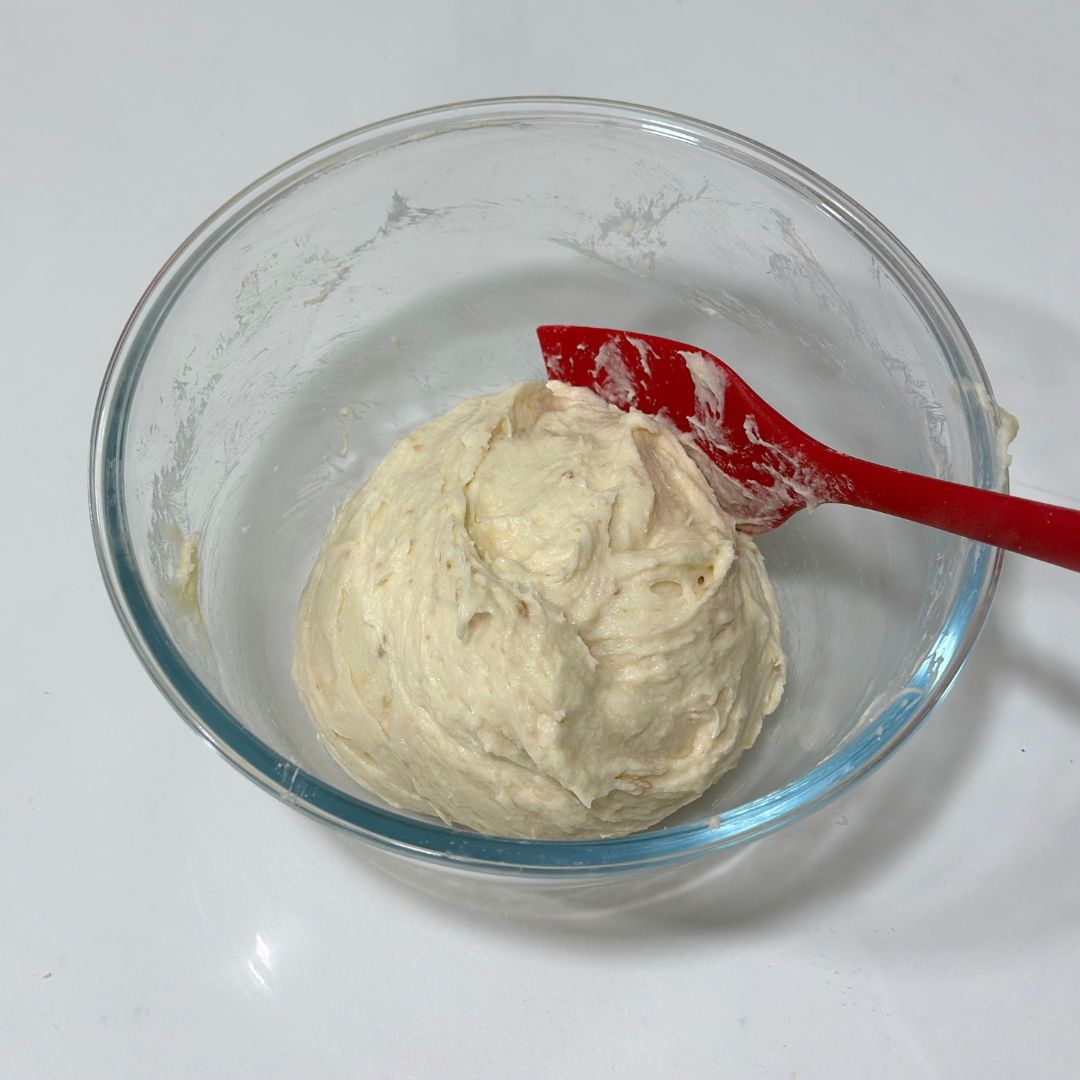
Step 5: Prepare a 250g Chefmade baking mould and lightly grease the inside with a thin layer of oil.
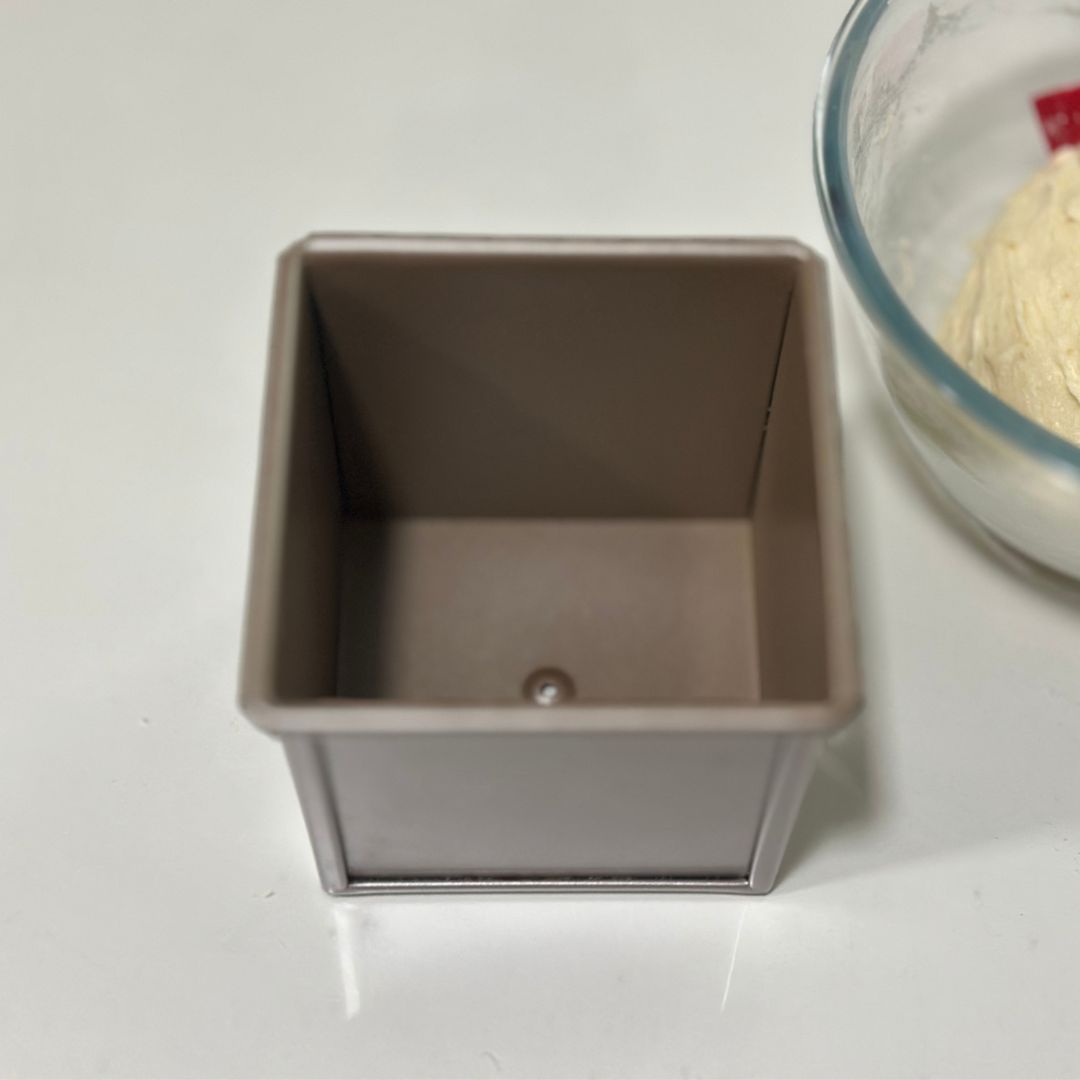
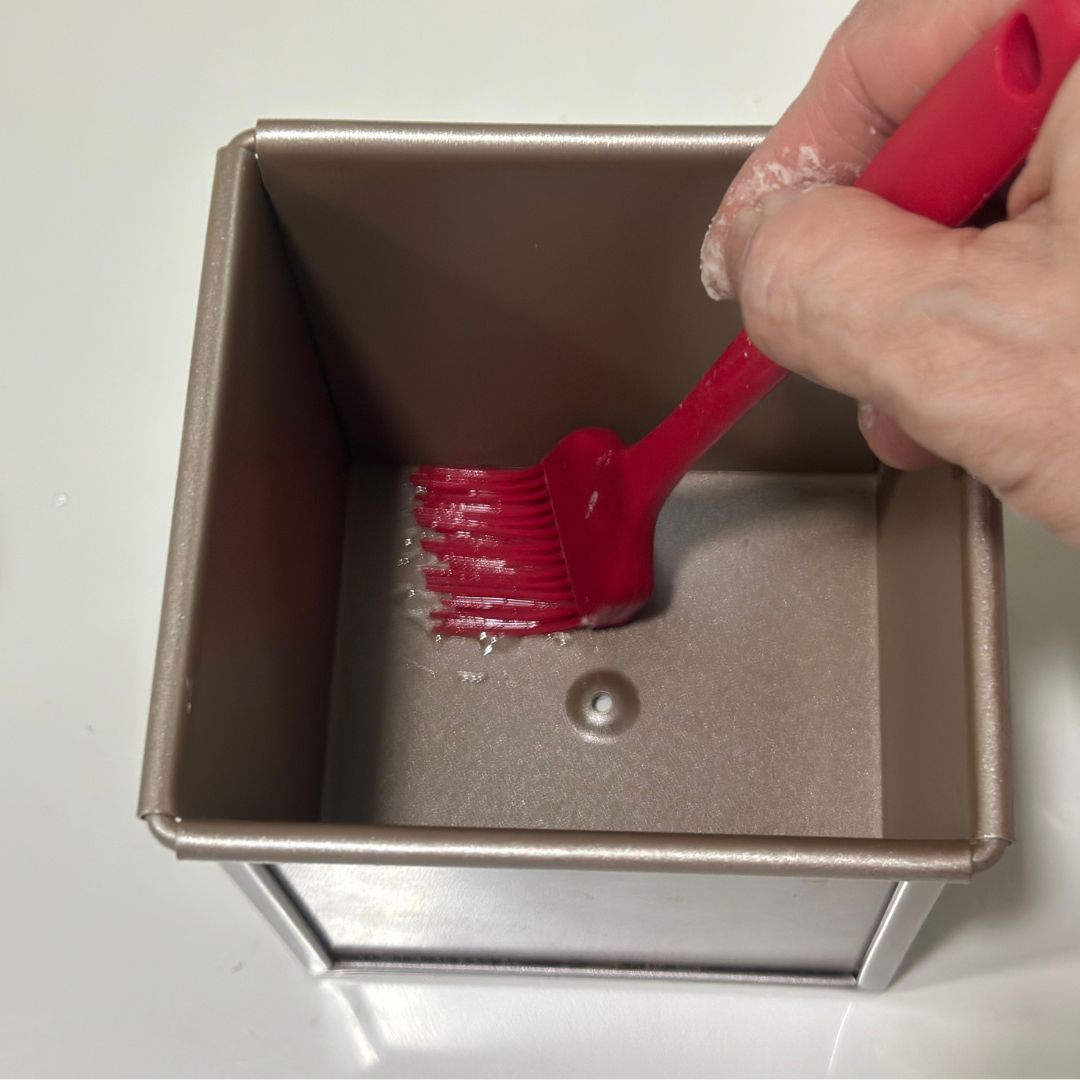
Step 6: Pour the rice bread batter into the prepared baking mould.
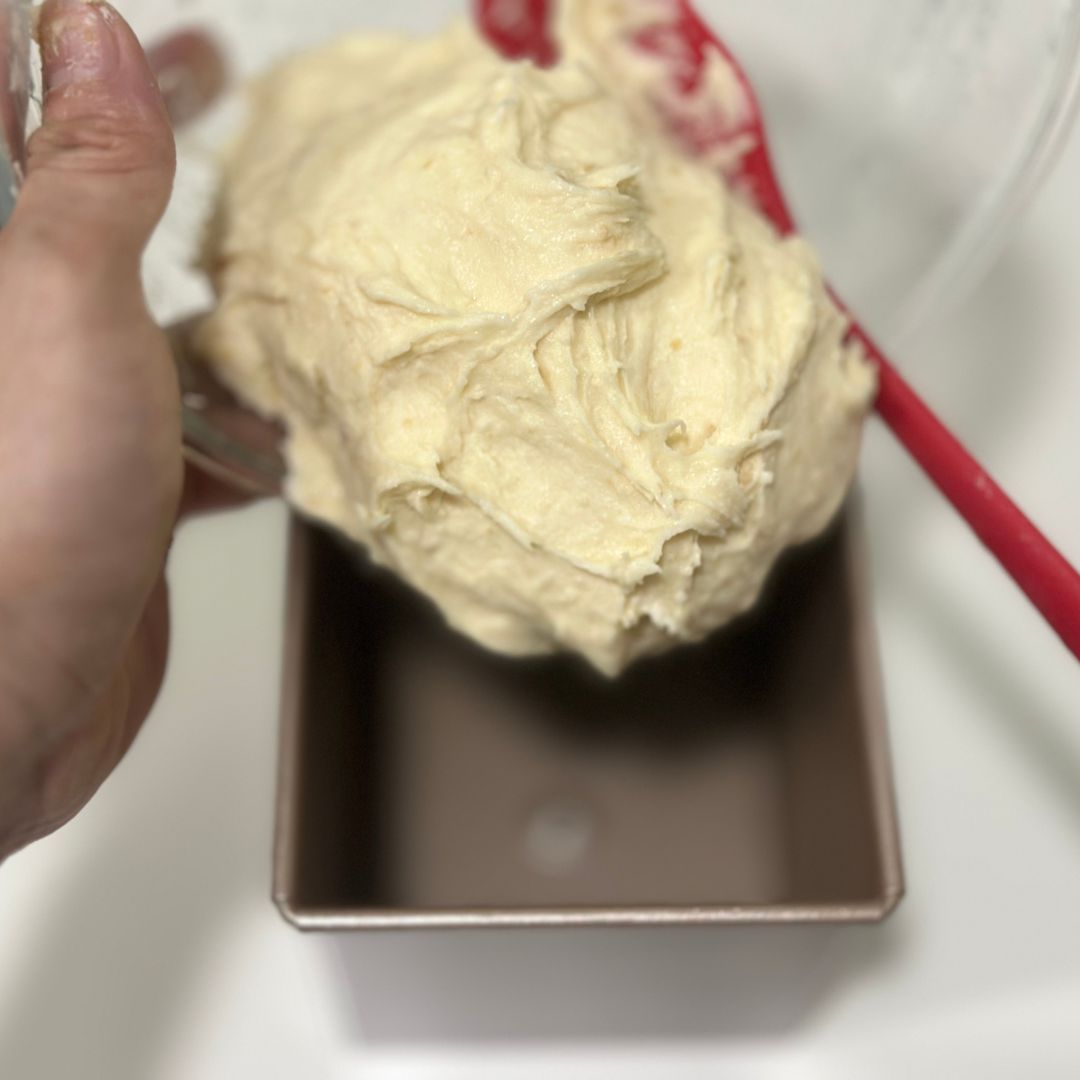
Step 7: Using a flat spatula, gently spread and smooth the rice bread batter evenly in the mould. Do not spray with water yet.
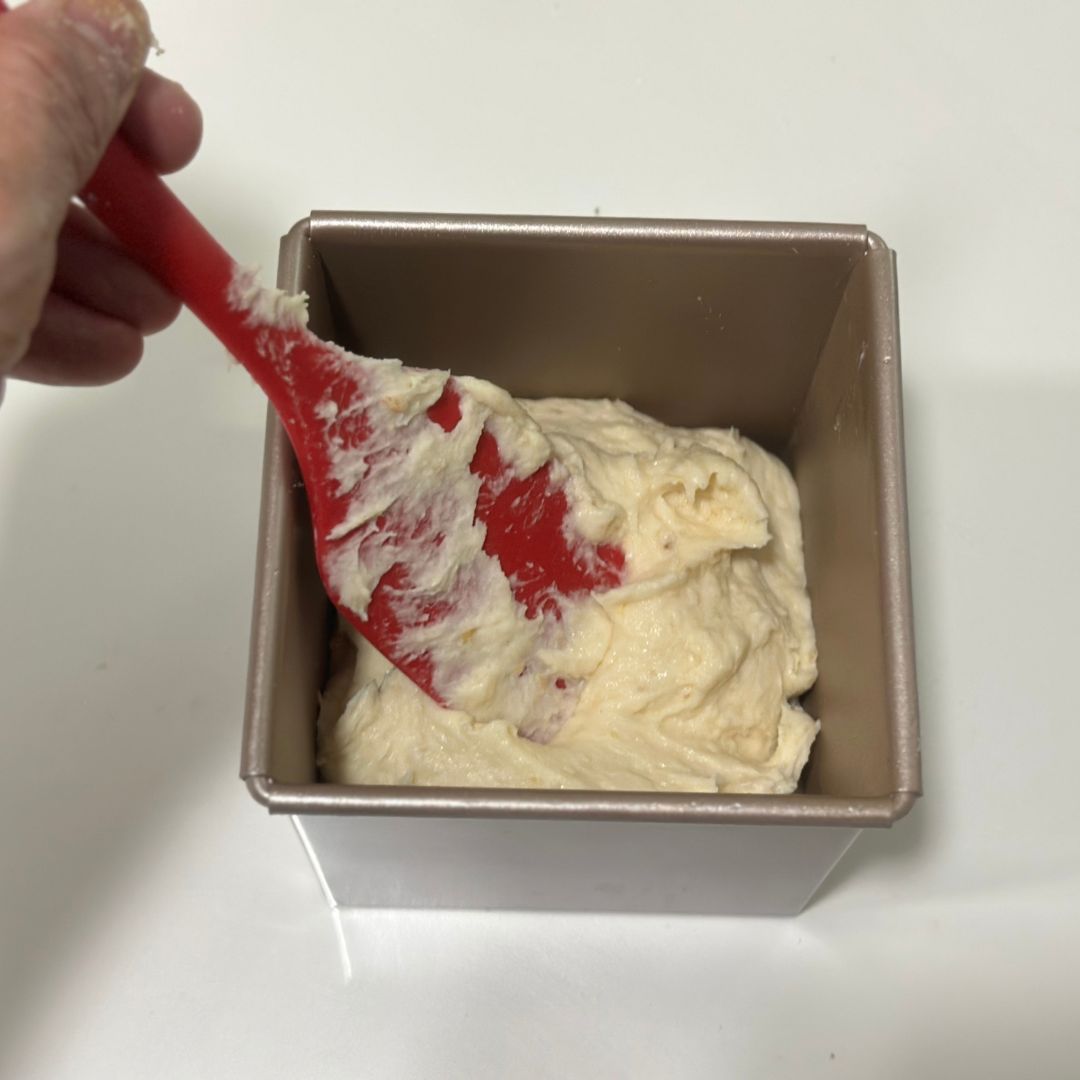
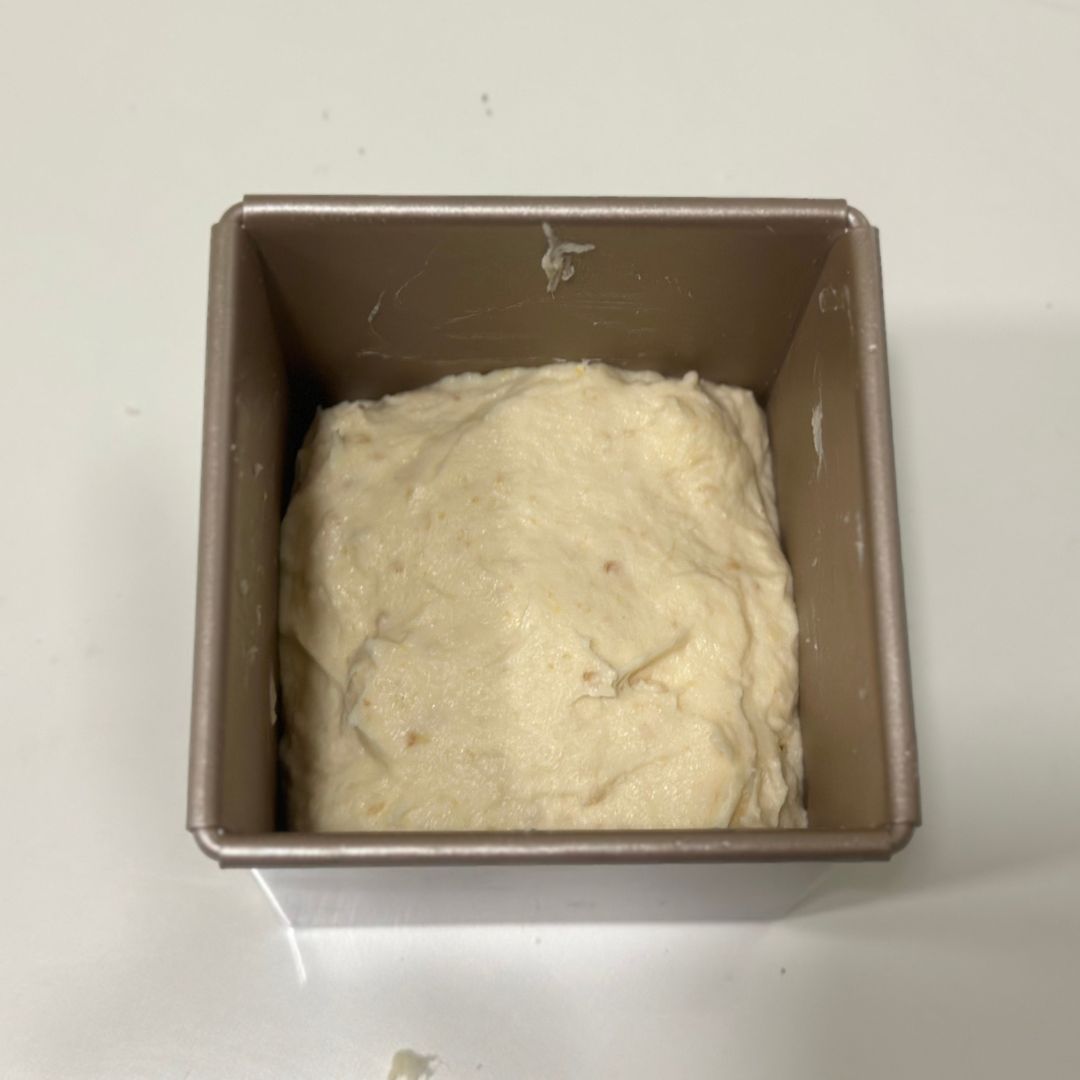
Step 8: Once the rice bread batter has been evenly spread and smoothed, lightly spray the surface with water. Make sure the surface is smooth before spraying.
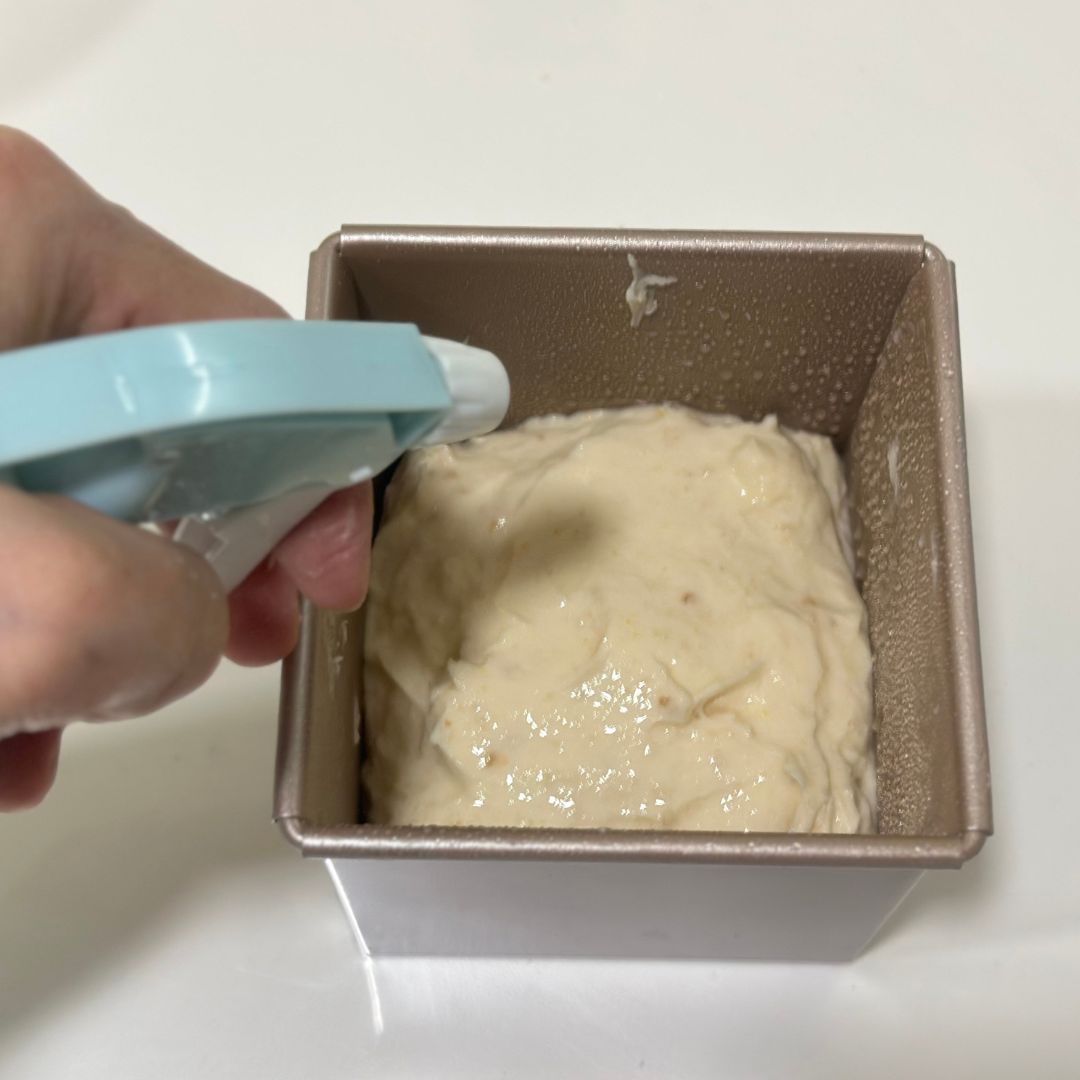
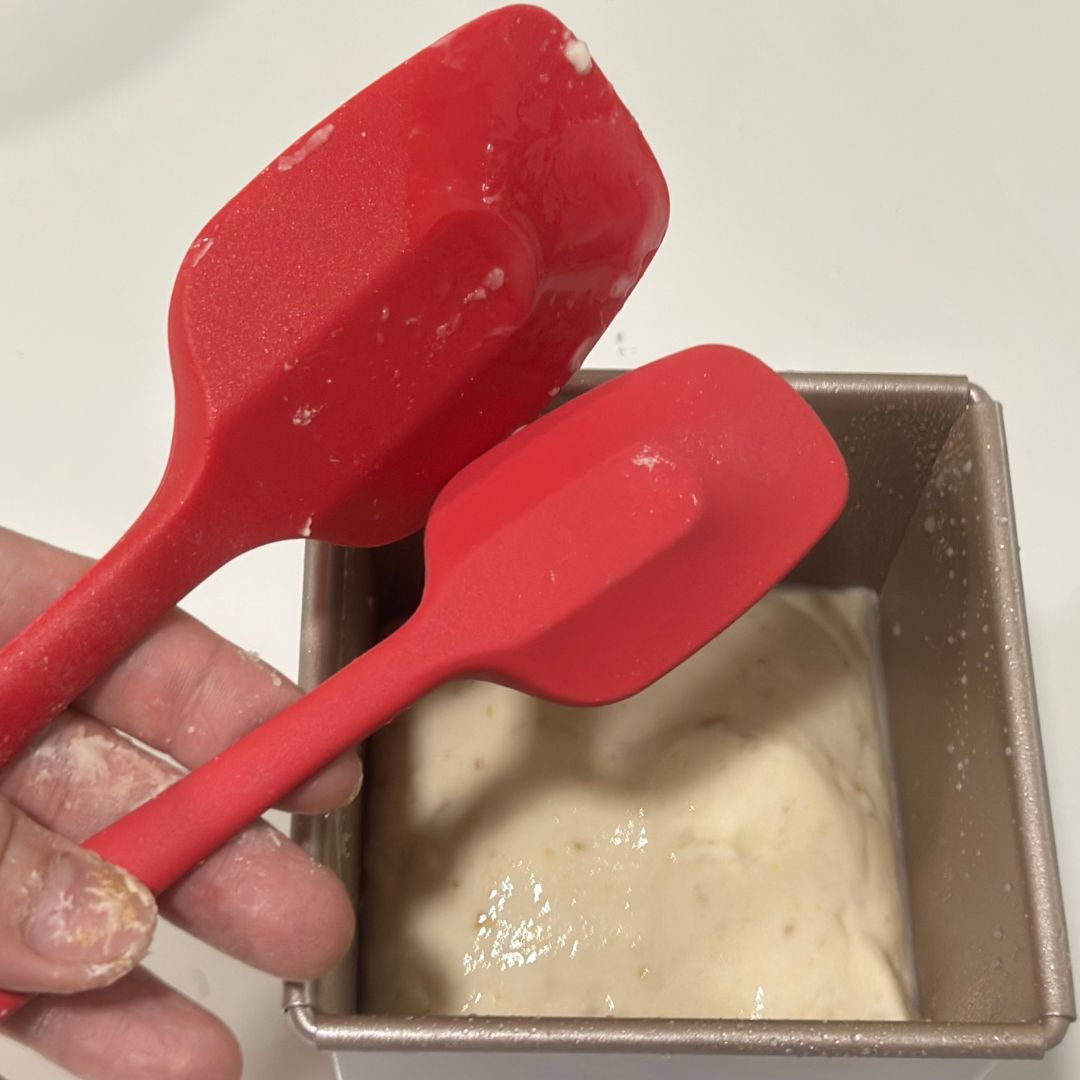
Step 9: Using the back of a curved spatula, gently smooth the surface of the rice bread batter until it is even and smooth. A smaller curved spatula is recommended for easier handling.
✨ This is a crucial step that can make a big difference in the final appearance of your baked rice bread!
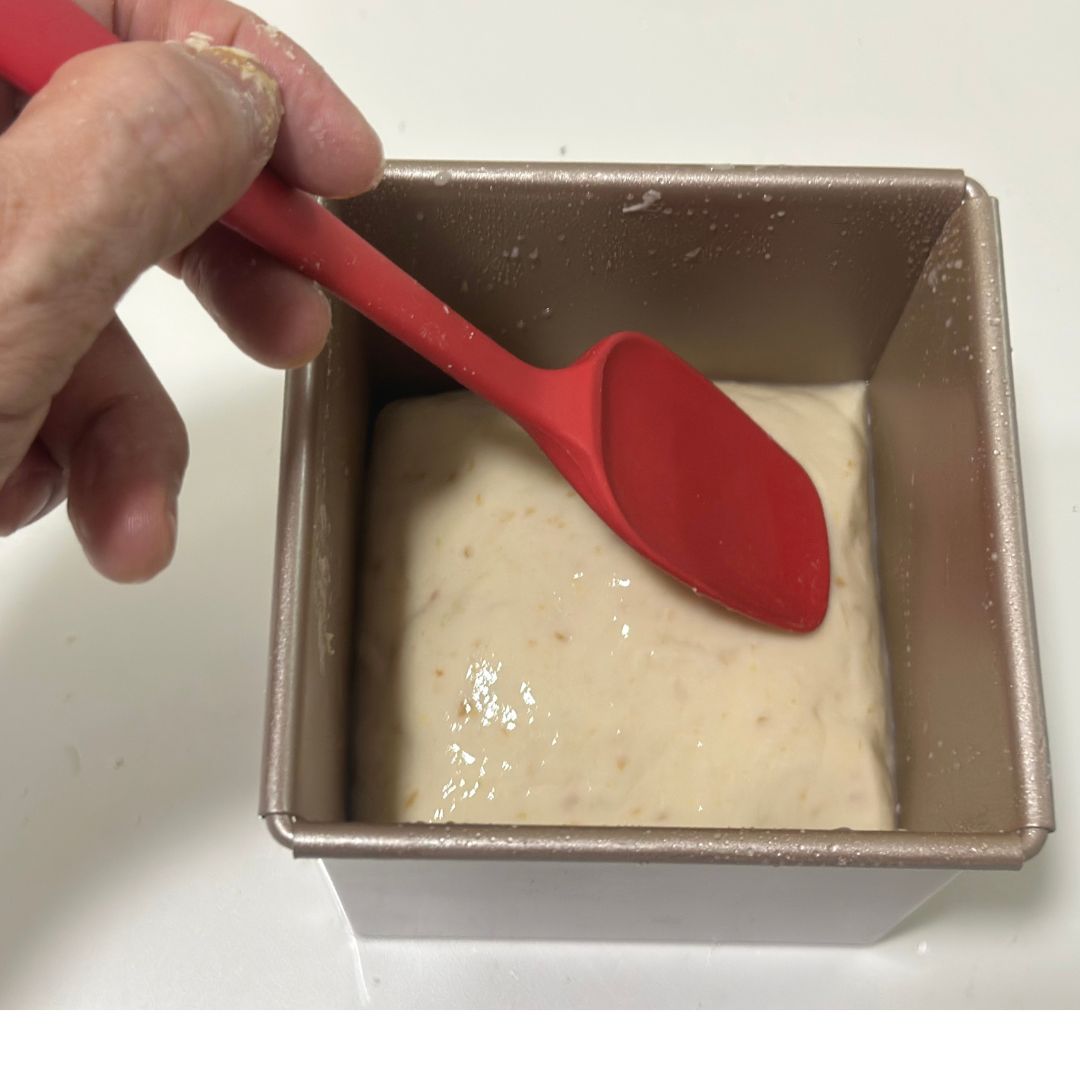
Step 10: Allow the rice bread batter to proof for approximately 45–50 minutes. If you don't have a proofing cover, simply place the mould in a draft-free area, away from air conditioning.
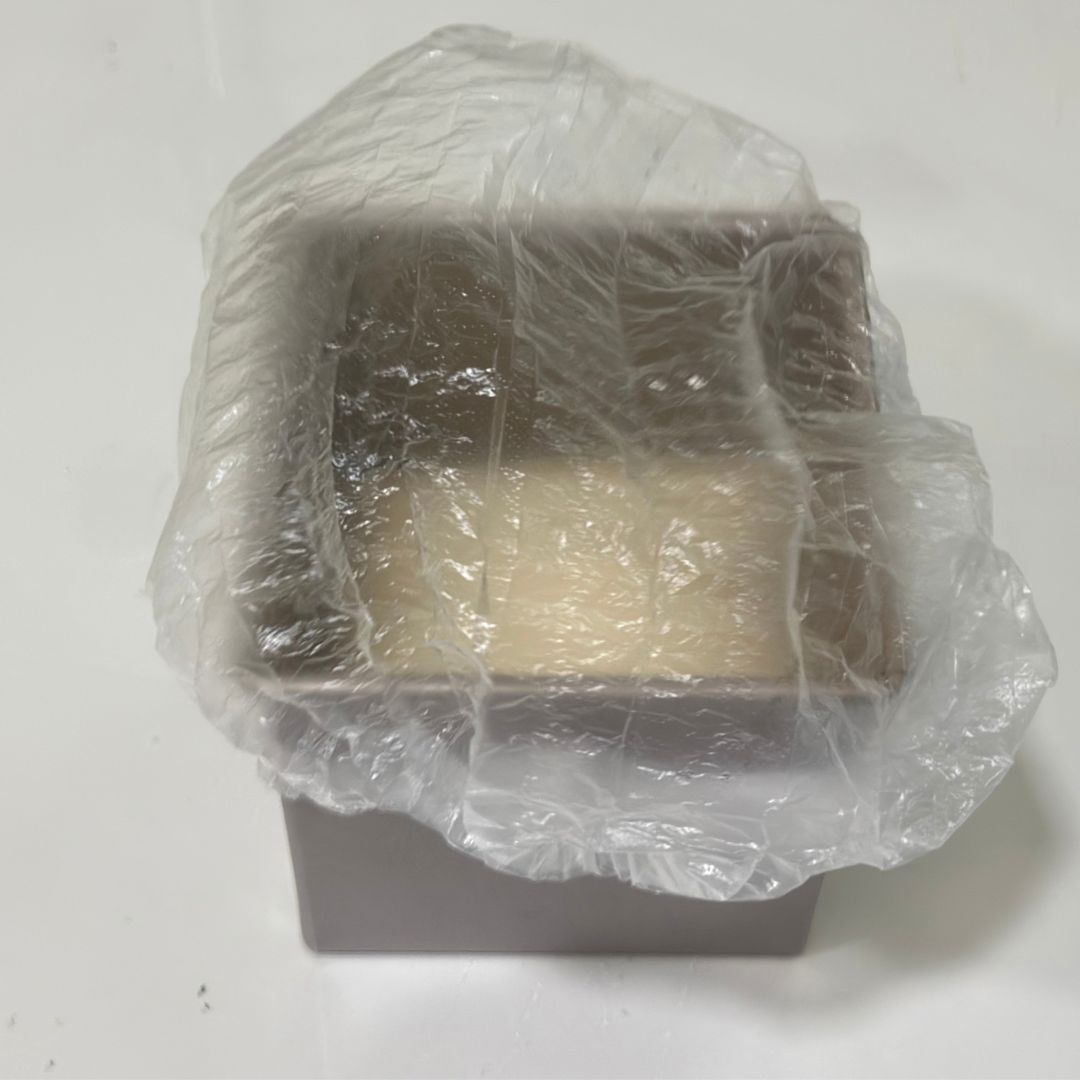
Step 11: When the rice bread batter has risen to approximately 80% of its expected proofing height, preheat the Air Fryer to 180°C for 10 minutes.
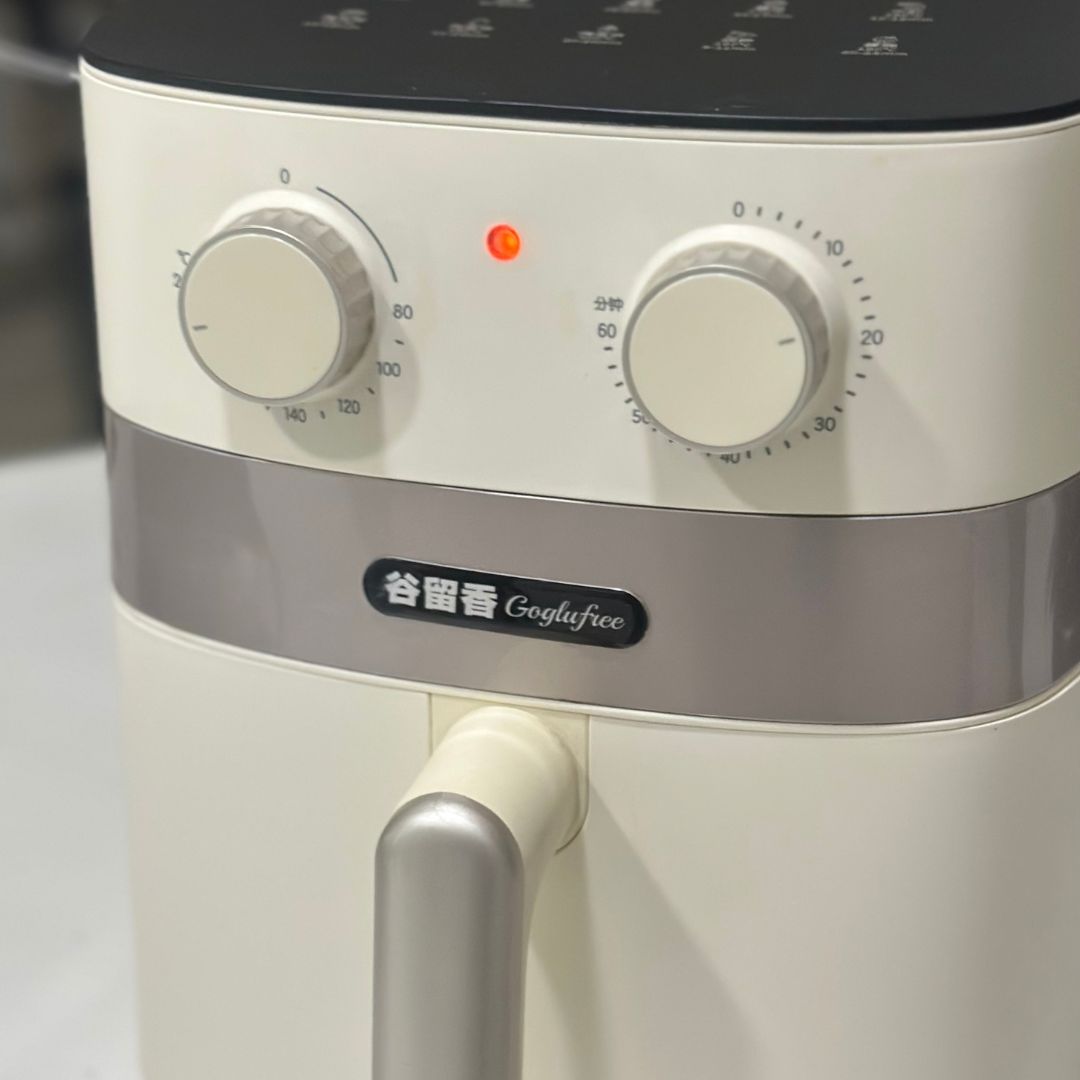
Step 12: Proofing is complete when the rice bread batter has risen approximately 1–2 cm above the rim of the baking mould.
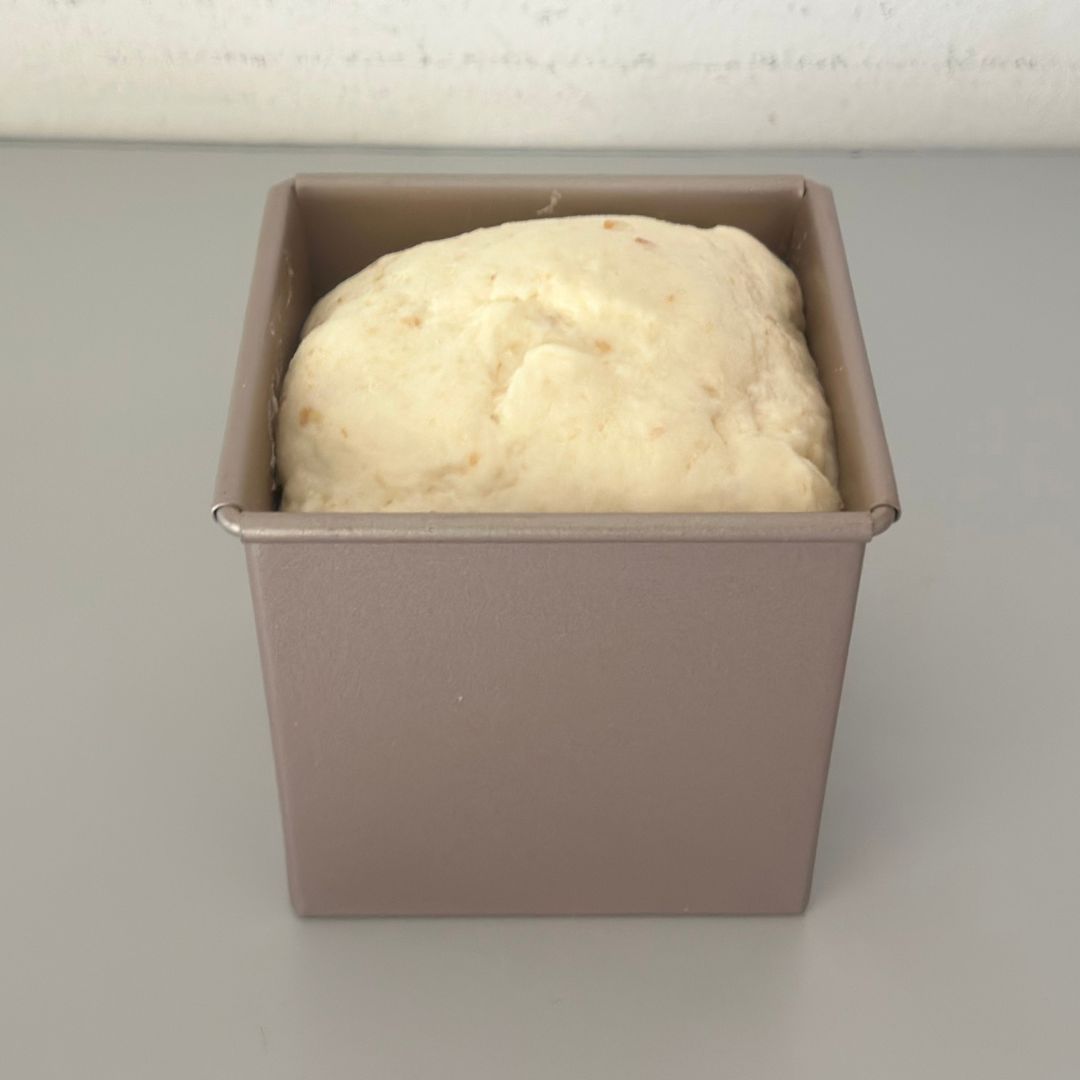
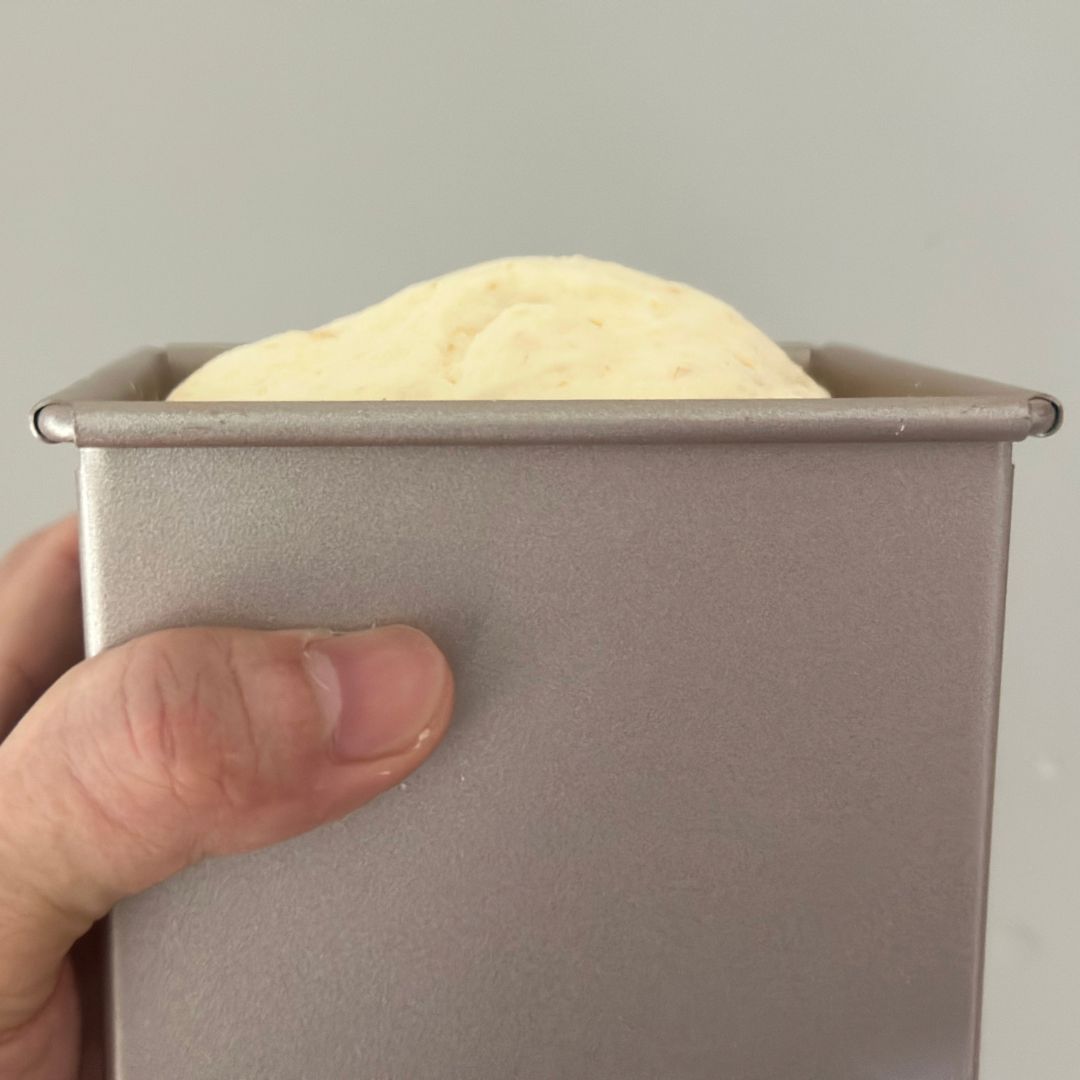
Step 13: Lightly spray the surface of the proofed rice bread dough with water to help reduce surface cracking during baking. Then, carefully place the baking mould into the preheated Air Fryer.
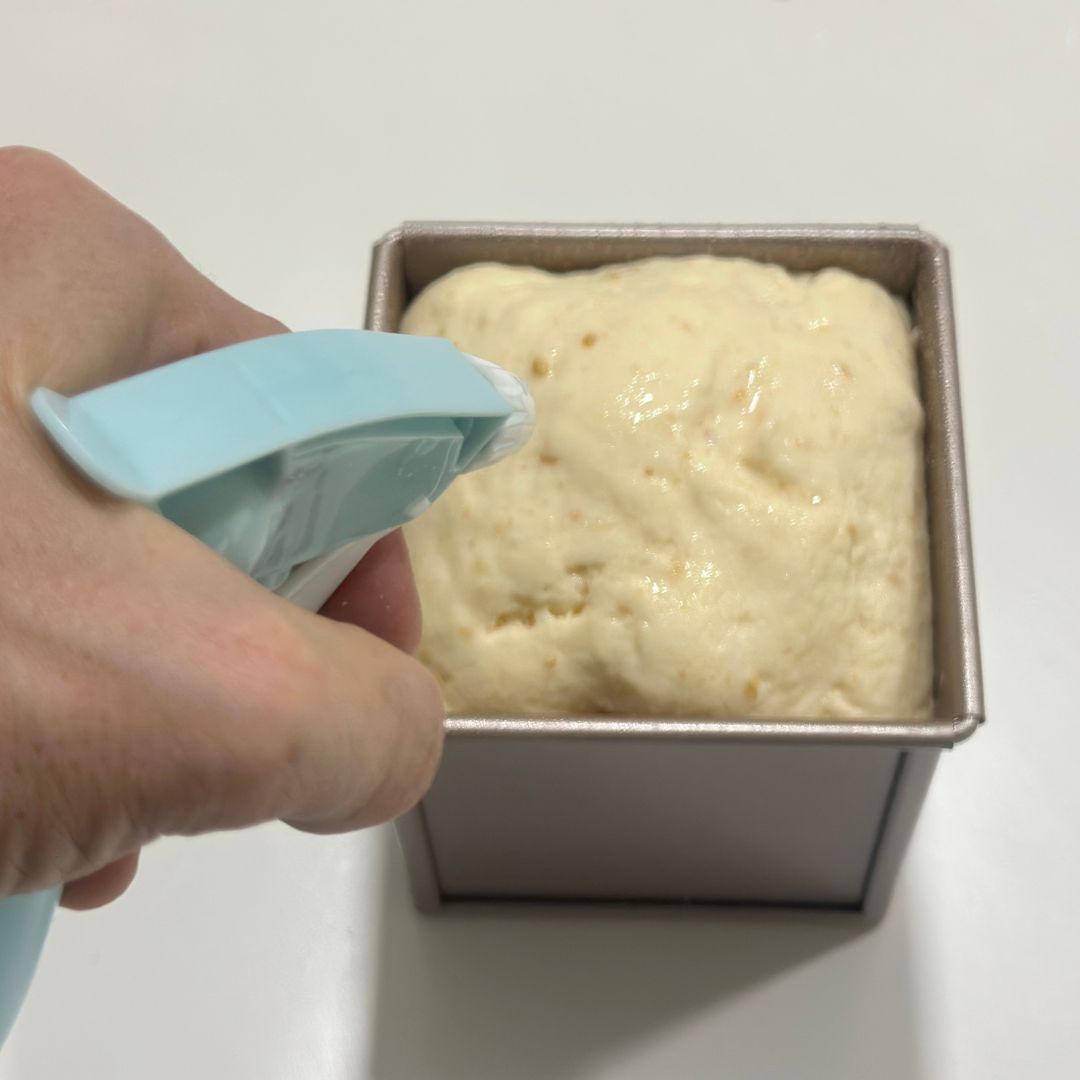
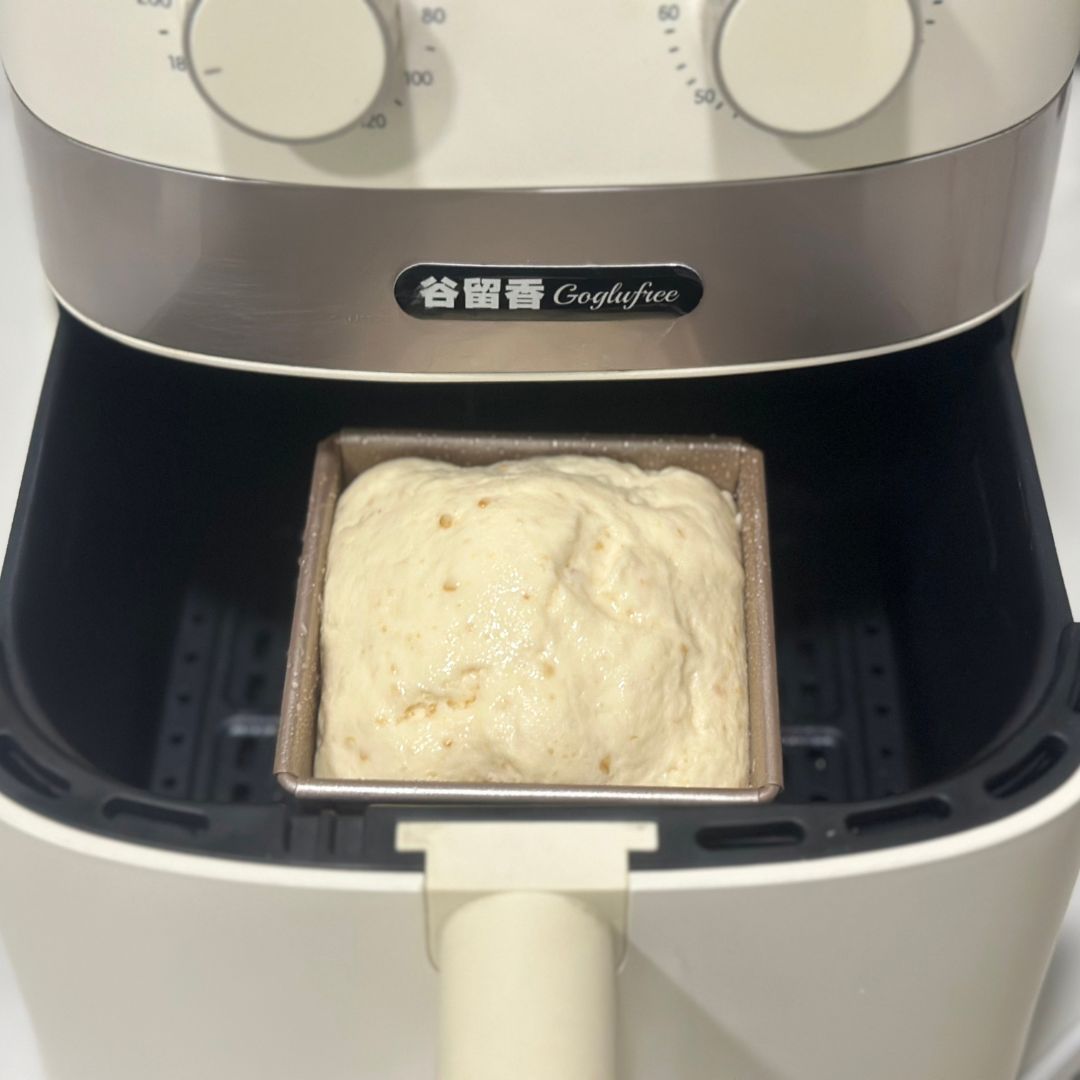
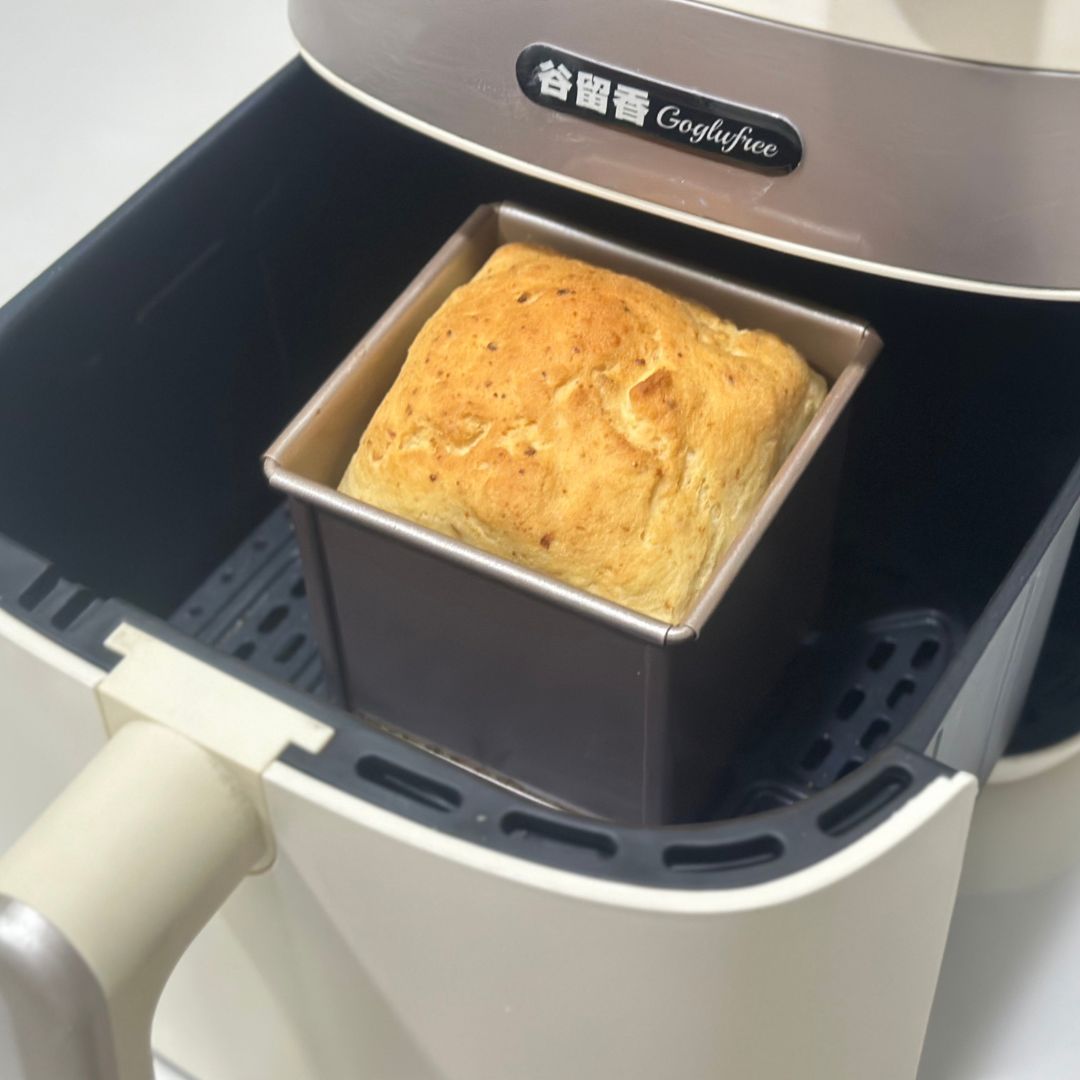
Step 14: Bake the rice bread in the Air Fryer at 180°C for approximately 20 minutes.
Note: Baking performance may vary depending on the Air Fryer brand and model. If the results differ, simply adjust the baking time or temperature accordingly for your next attempt.
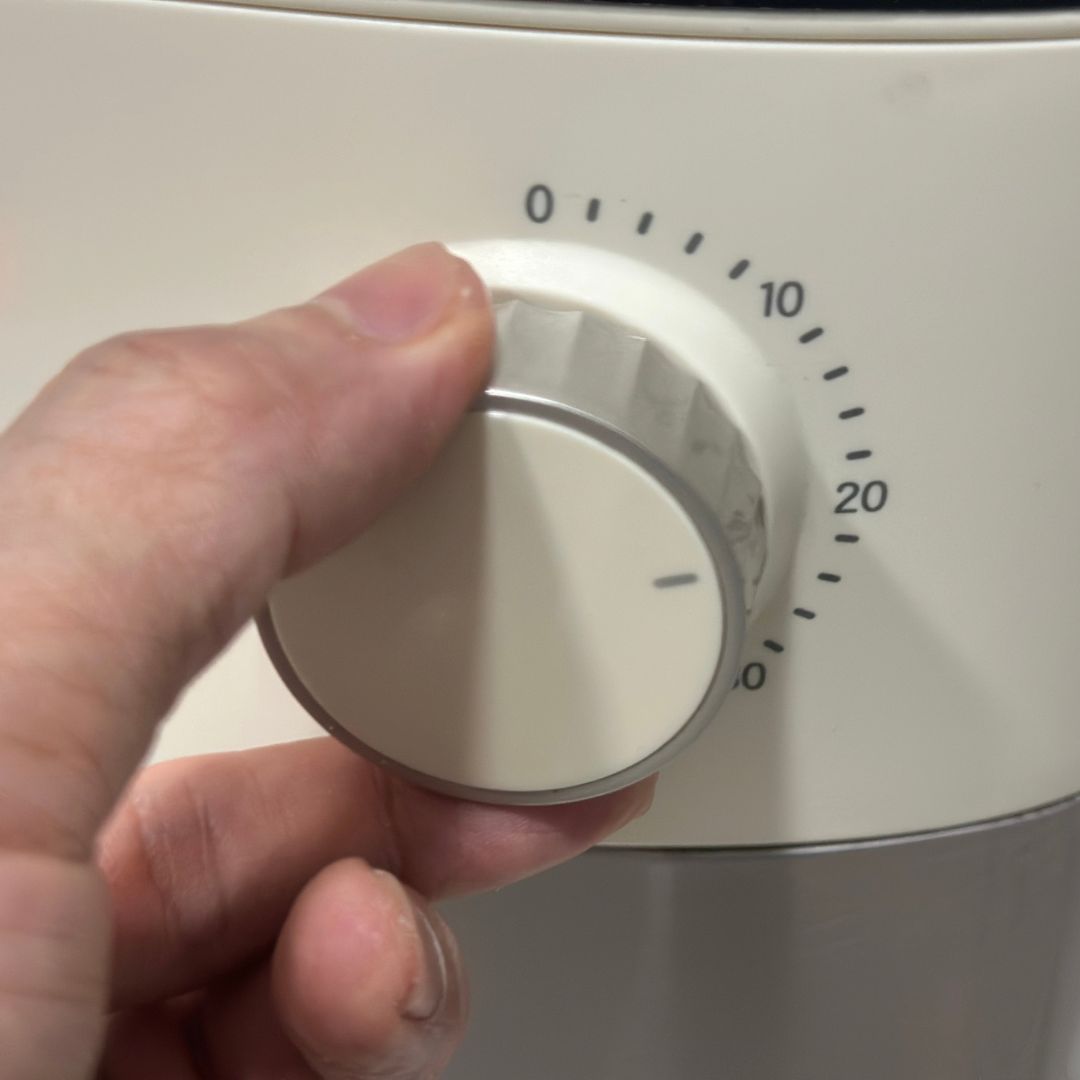
Step 15: Your freshly baked Pearl Rice Bread is ready, filled with the wonderful natural aroma of rice! 🌾🍞
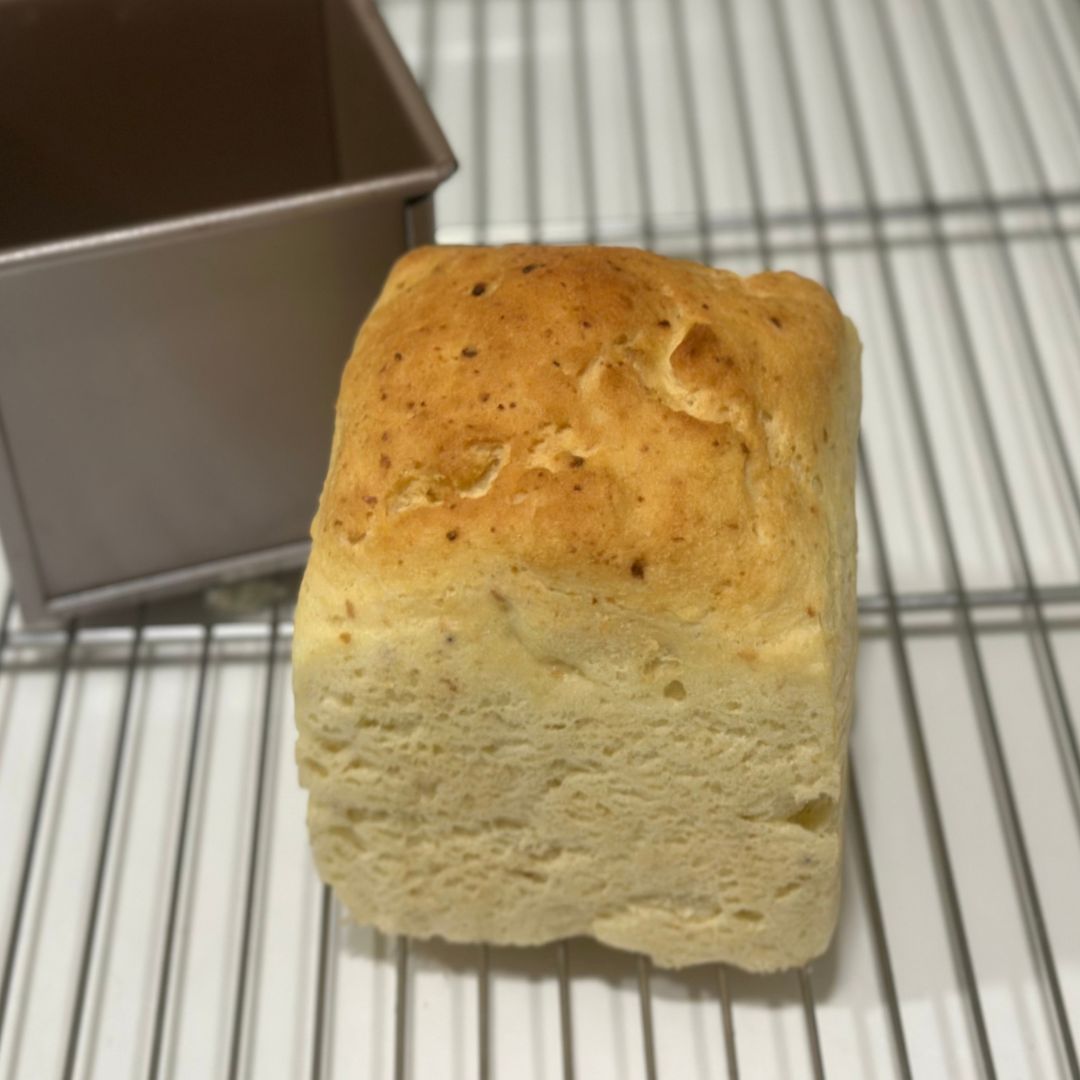
Step 16: Place the rice bread on a wire cooling rack and allow it to cool completely before slicing. Once the internal heat has dissipated and the yeast aroma has faded, the bread will develop a more stable texture and crumb structure.
Recommended cooling time: At least 1 hour or longer.
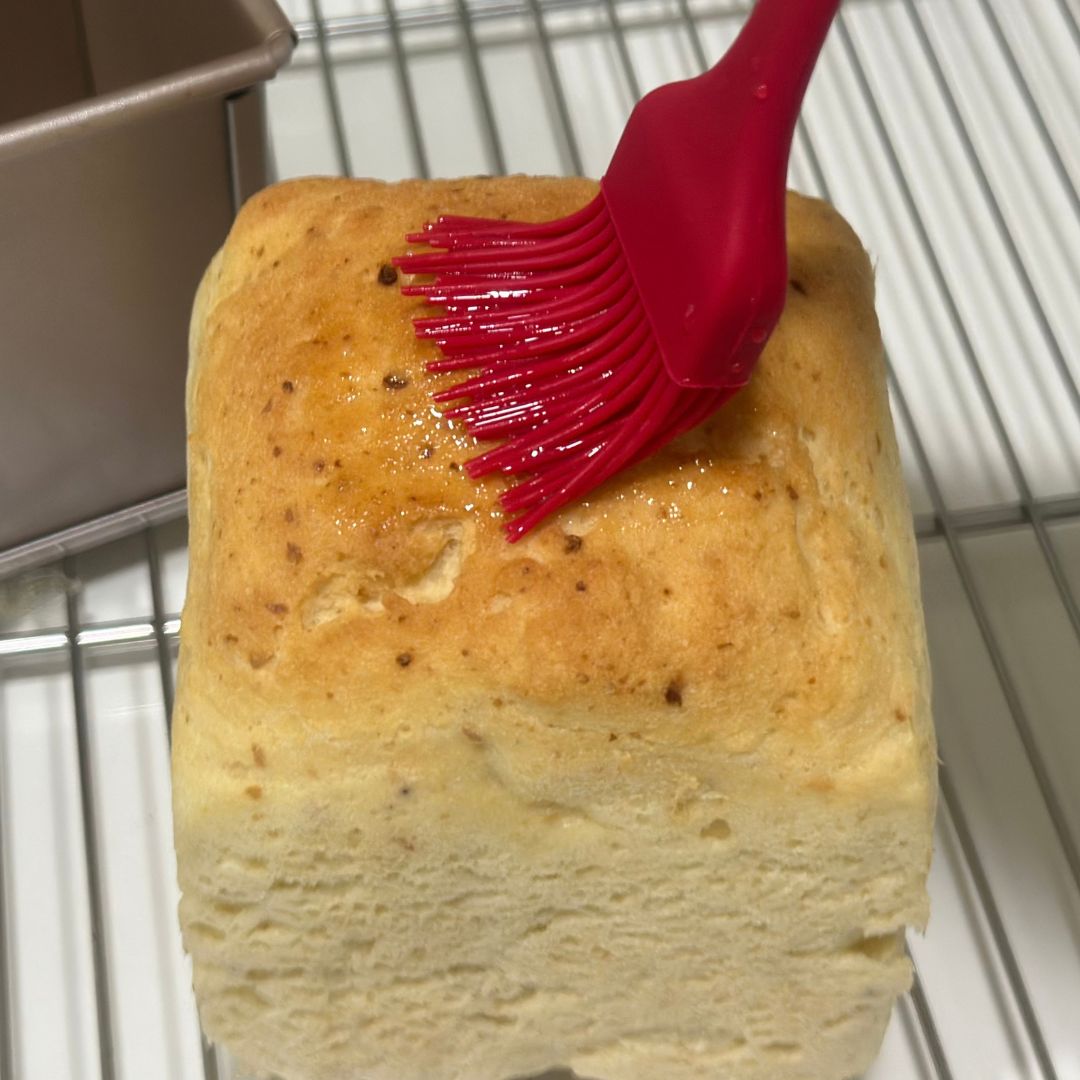
Optional Finishing Touch: Lightly brush a thin layer of oil over the bread's surface to give it a beautiful, glossy finish.
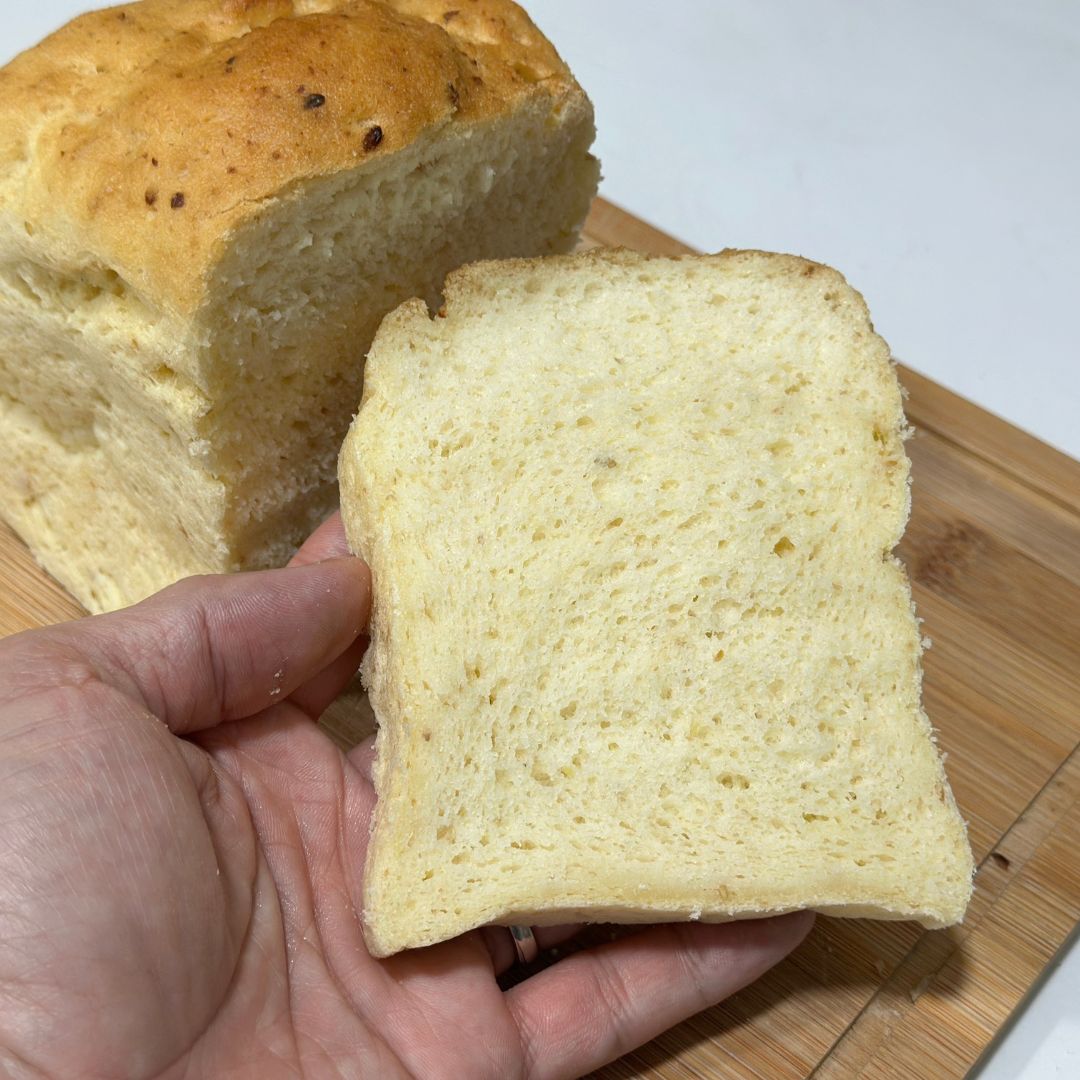
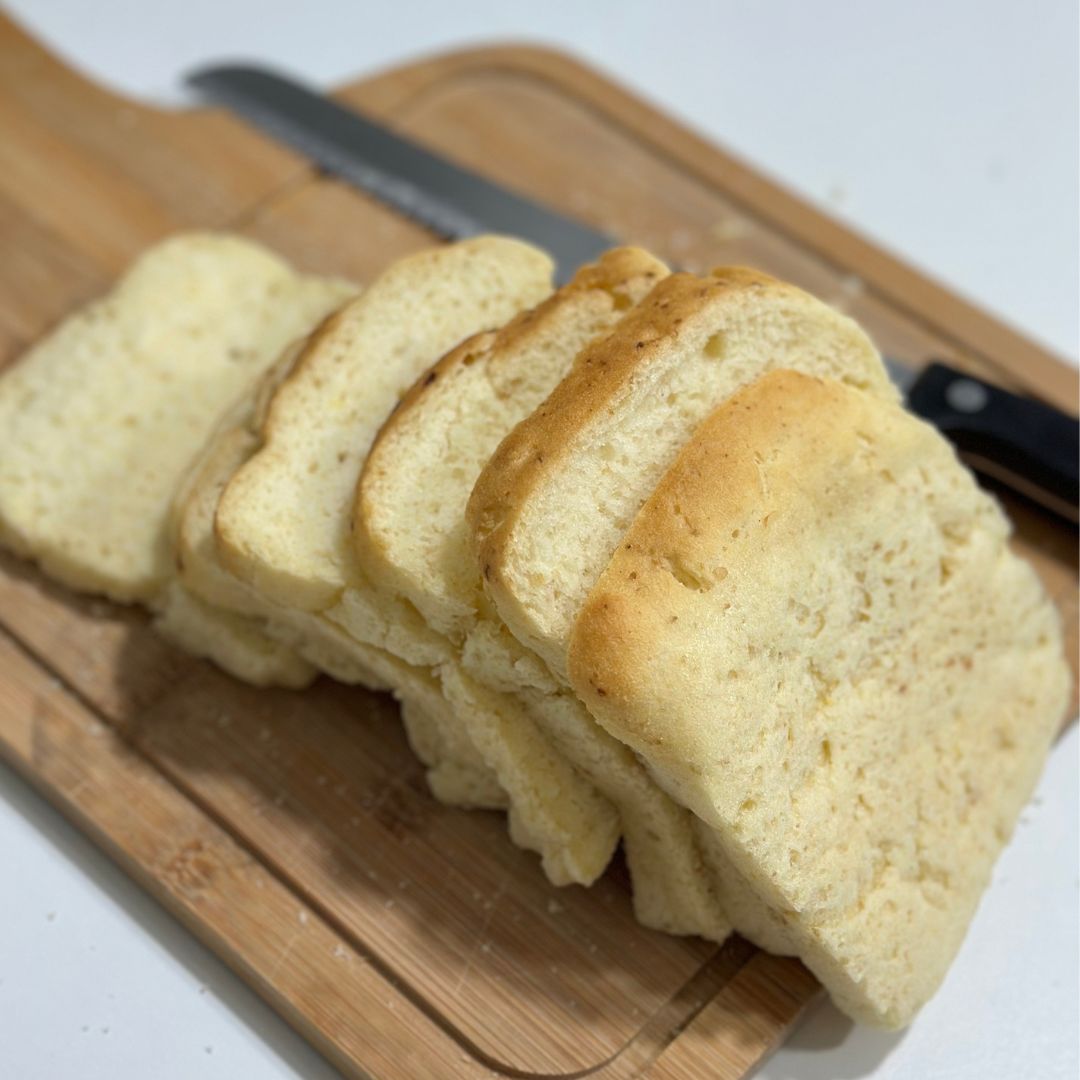
Step 17: Once the rice bread has cooled completely, slice it and store the slices in an airtight container.
🍞 Rice Bread Storage Recommendations
🏠 Room Temperature: Up to 2 days
❄️ Refrigerated: Up to 7 days
🧊 Frozen: Up to 3 months
Tip: For longer freshness, refrigerate or freeze the rice bread as soon as possible, especially in Malaysia's warm and humid climate.
🍞 Rice Bread Q&A
Q: Can I use a baking mould with a metal lid for proofing and baking?
A: Yes, you can! 😊
Allow the rice bread batter to proof until it reaches approximately 80% of its expected proofing height.
Before closing the lid, lightly grease the inside with a thin layer of oil to prevent the dough from sticking.
Then, close the lid and allow the dough to continue proofing for approximately 10 more minutes while preheating the oven.
Once the oven is preheated, place the covered baking mould inside and proceed with baking.
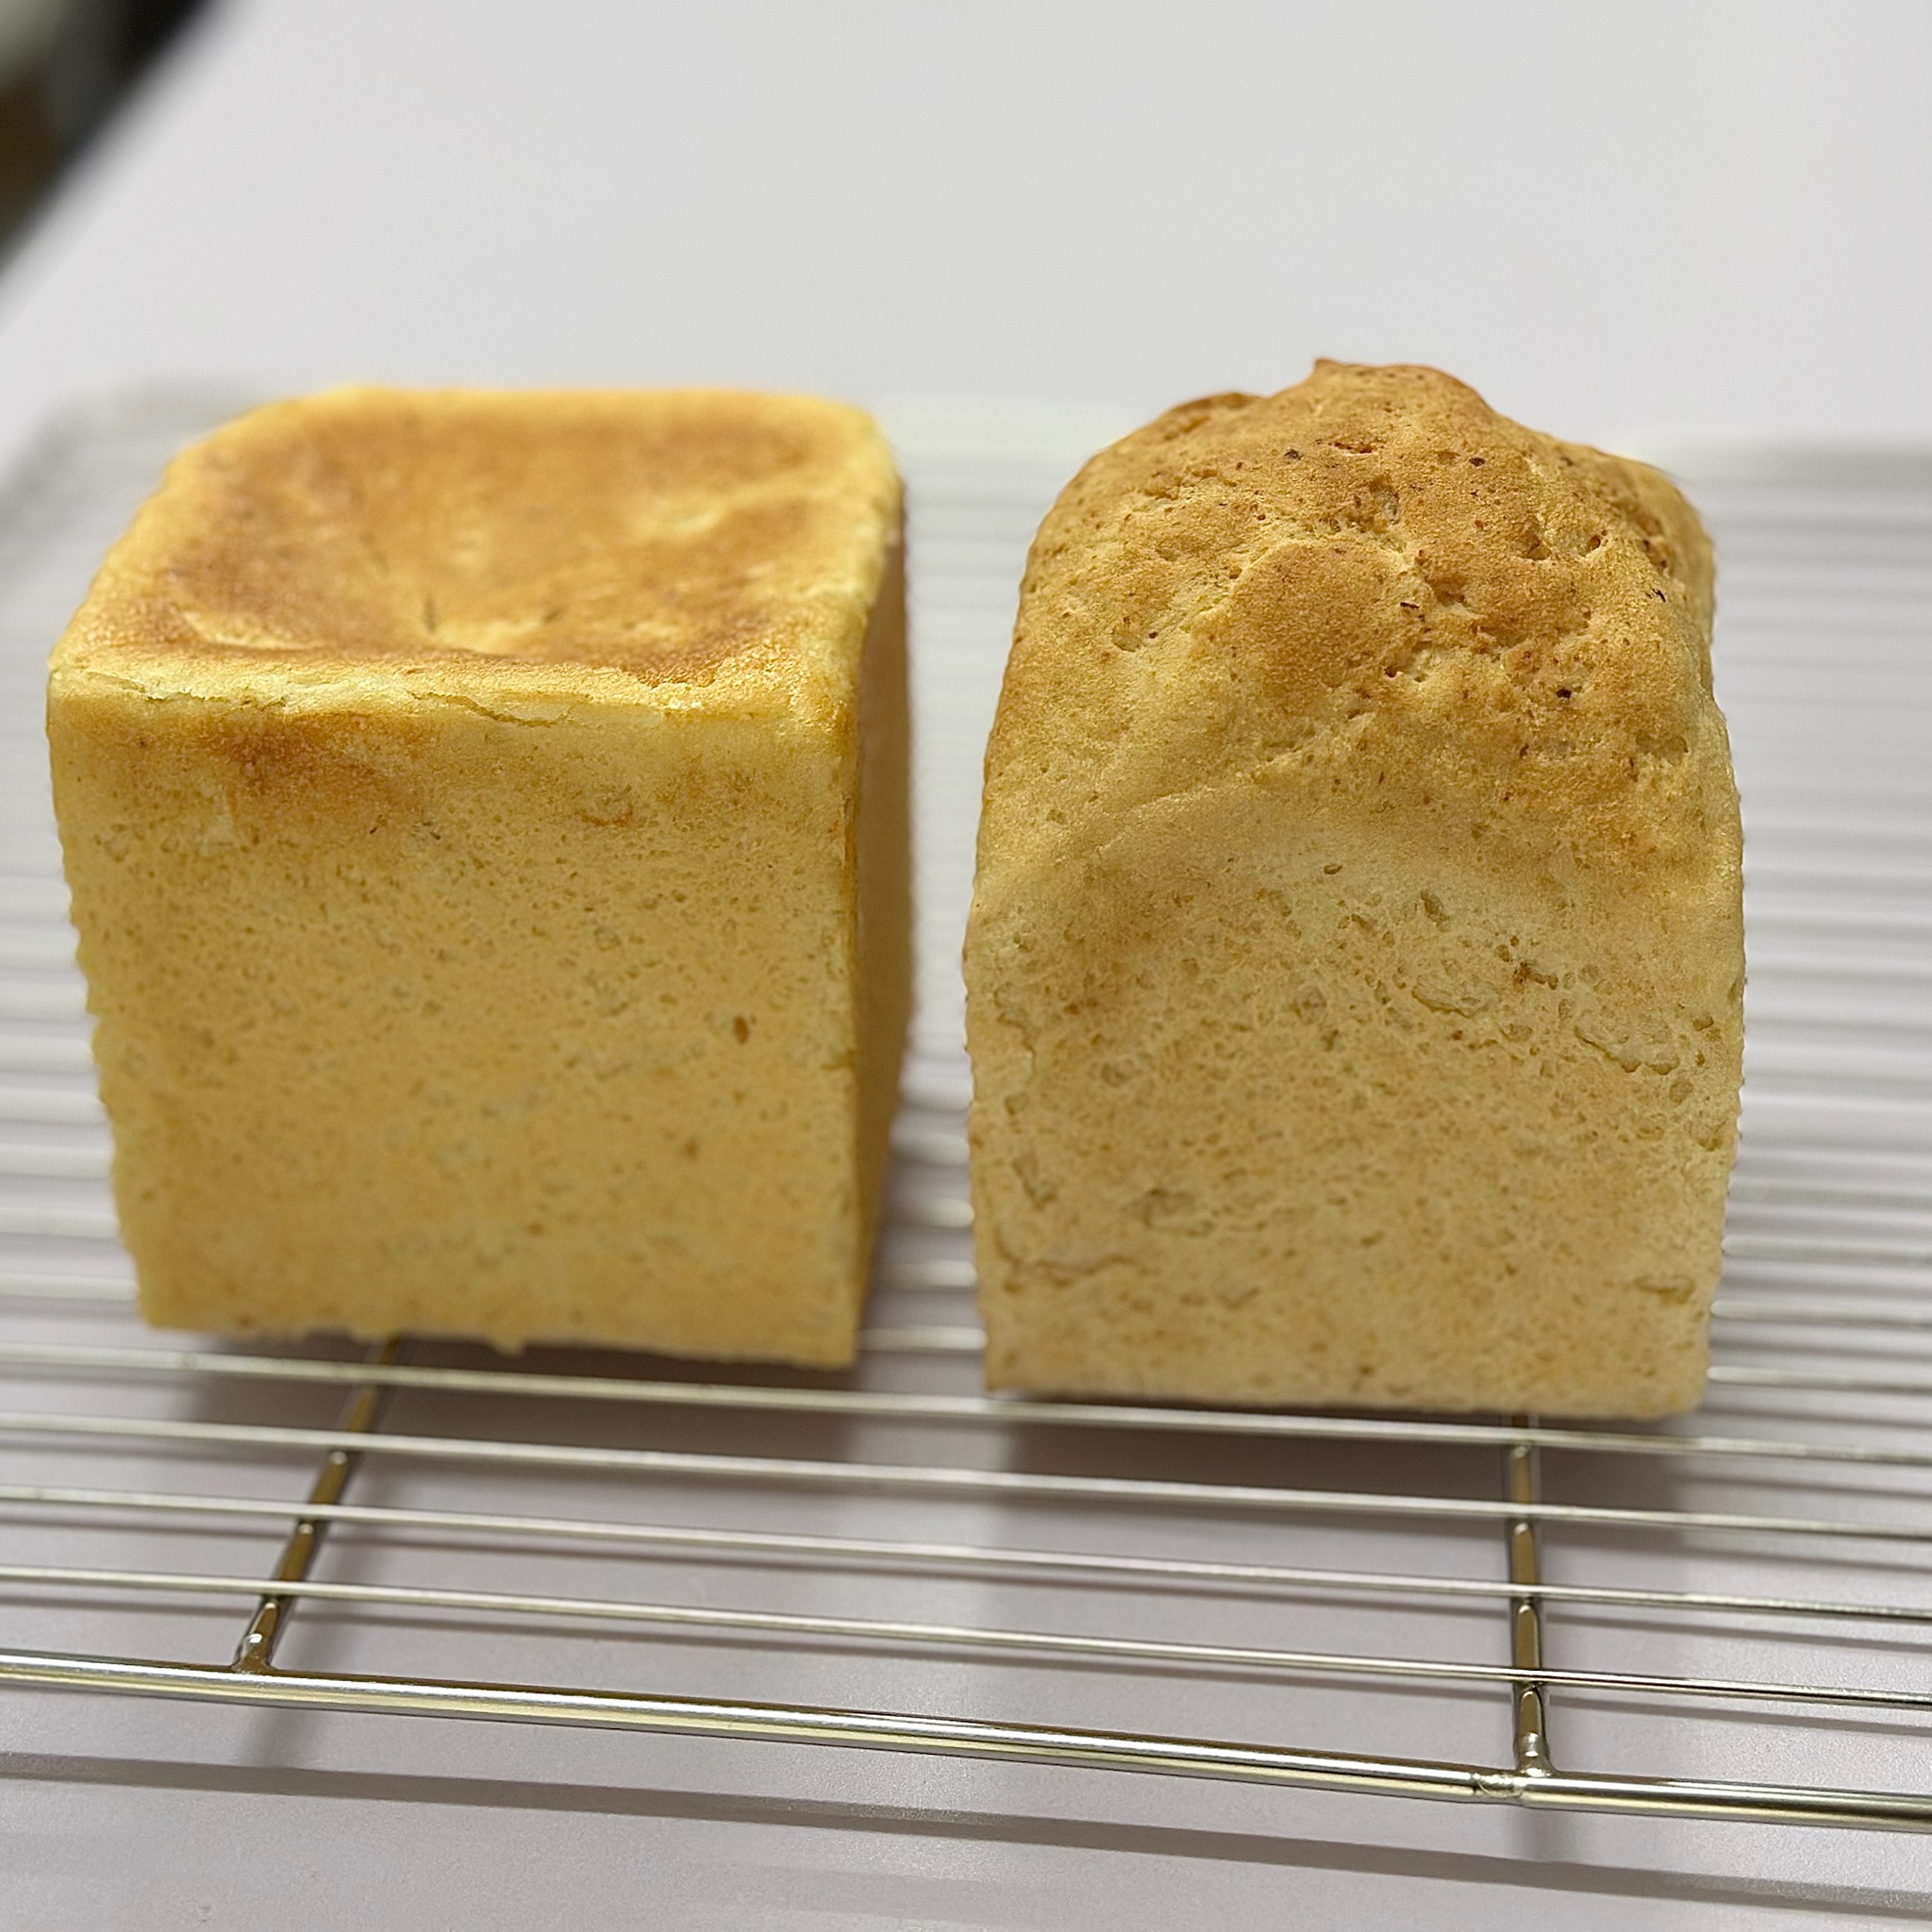
⚠️ Important Note: After baking, do not open the metal lid immediately. The bread is still very hot, and the sudden release of heat and pressure may cause the rice bread to crack or split.
Wait approximately 2 minutes before carefully opening the lid.
🍞 Rice Bread Q&A
Q: Can I use a larger 450g baking mould instead?
A: Yes, you can! 😊 However, there are two important factors to consider.
1️⃣ Air Fryer Capacity & Baking Mould Size
First, make sure your Air Fryer has enough space to accommodate the larger 450g baking mould.
We recommend using an Air Fryer with a capacity of at least 6 litres.
It is also advisable to bake with the metal lid closed, as this helps prevent the bread from rising too high and getting stuck inside the Air Fryer, making it difficult to remove after baking.
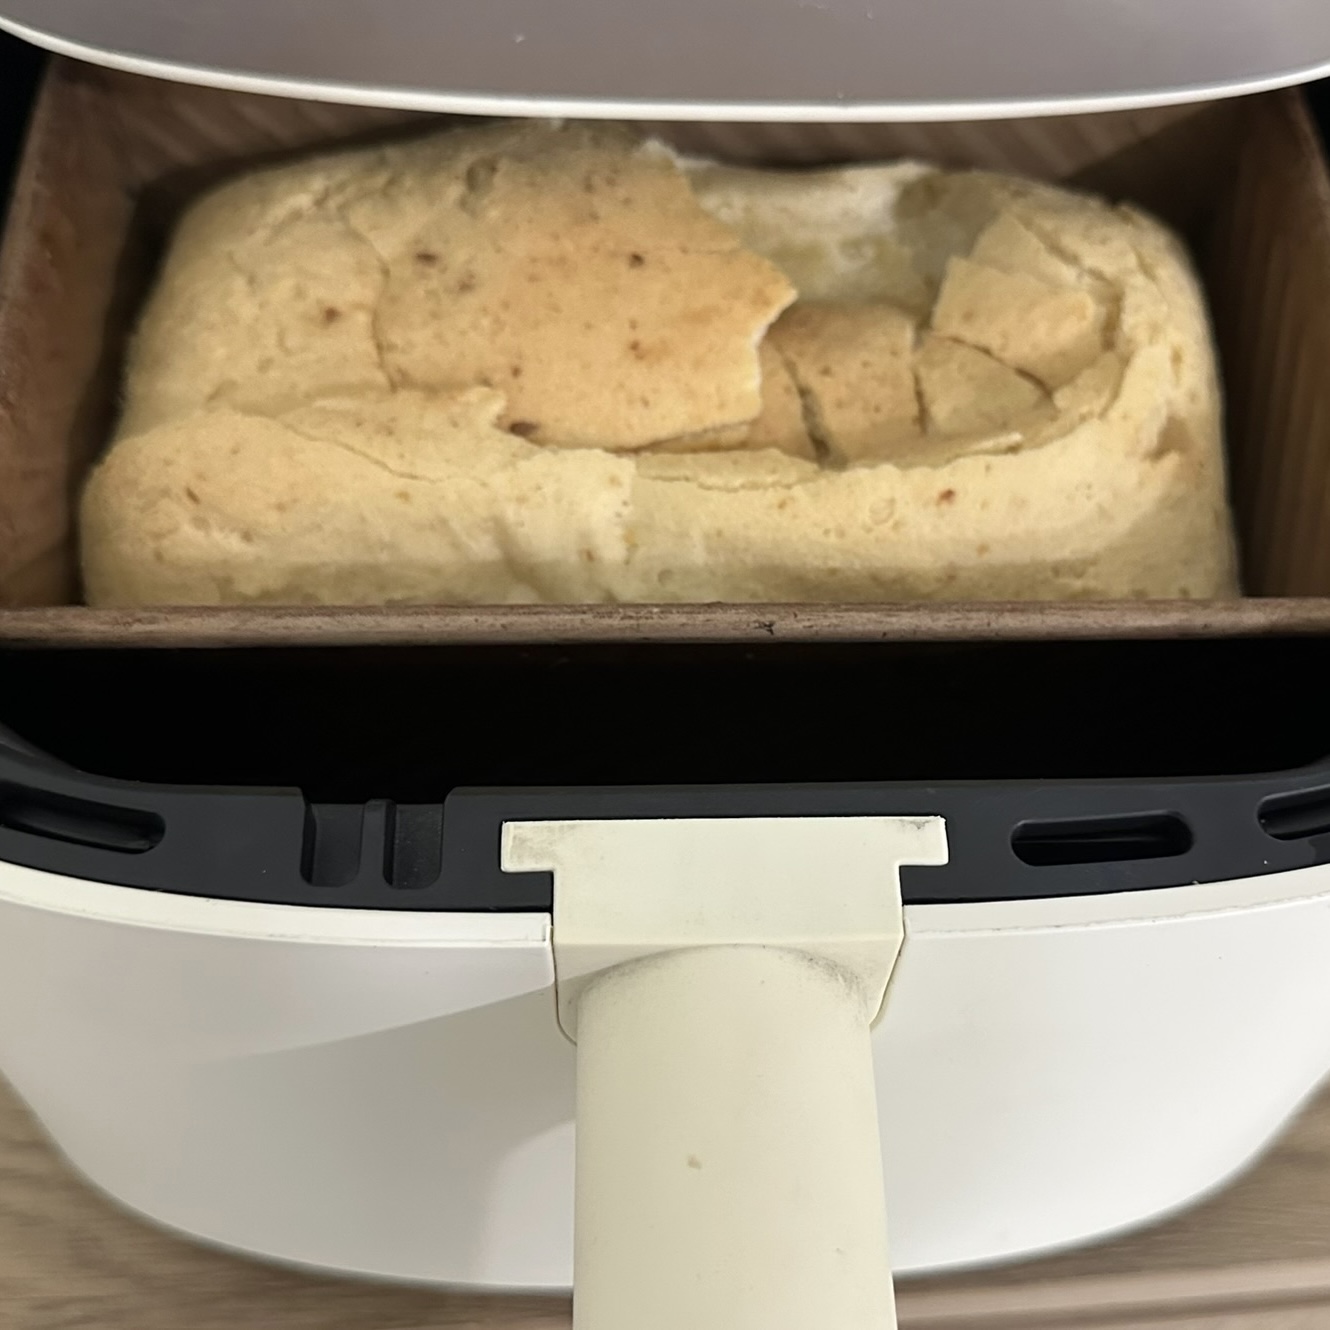
The image above shows rice bread made using a 450g baking mould. Rice bread usually expands further during baking. If the Air Fryer is too low, the bread may rise too high and become difficult to remove. Therefore, we recommend baking with the metal lid closed.
2️⃣ Double the Ingredients & Use an Electric Mixer
When using a 450g baking mould, all ingredients should be doubled.
Since rice bread batter is naturally thick and sticky, we recommend using an electric hand mixer or food processor instead of mixing manually.
This helps ensure the batter is mixed more evenly and thoroughly, giving you a more consistent result.